I have been building a 6 DOF Robotic arm by reverse engineering the ones found on eBay. The only new part is the lazy Susan at the base. That base looks a lot better than the ones on eBay. All the other parts were laying around left overs from my Humanoid robotics projects.
Here is a video of it running with a Raspberry Pi.
This video is of a Raspberry Pi running it with a PCA9685 controller.
Here is the Arduino powered setup video, YouTube has made it difficult to embed a video....
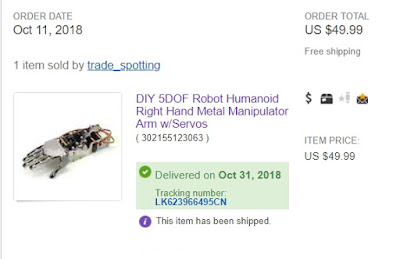
I recently purchased a 5 DOF metal humanoid robot hand. It comes with instructions but they are written in translated English. Also some of the pictures are out of date as parts have changed since they were taken.
This is the eBay ad.
Here are the parts that were supplied to make the fingers. There are some spare parts included with the kit.
Here is the thumb and the fingers once assembled.
This is the frame assembled, the rods on the right are two parts that are screwed together.
This is what it looks like with the servos installed. Some of the threaded rod lengths are off 1mm from the instructions.
This is the top view of the assembly. Note that the metal rod holder for holding down the wire ties is "D" shaped and does not look like what is in the instructions.
The next step is to add the wire ties. Screws go into the heads of the wire ties and clamps hold the other end.
Here is the back side with the wire ties in place.
Here is the first video using an Arduino:
This is a second video this time using an Arduino with an array:
This next video is of an Arduino Uno running two hands.
Now we have a Raspberry Pi running two hands working with a PCA9685 Driver.
I recently had to replace the power switch in a Shure wireless microphone. If your microphone will not turn on, try replacing the switch. It might be bad and still "click" when you press the button! When I tested the last one with a volt meter it was about 500 ohms when pressed.
You need to remove the two screws that hold the battery holder in place and remove the battery holder. Then remove the three piece power switch panel as well.
Then you need to remove the "C" clip that holds the guts inside the shell. Small needle nose pliers can sometimes get the clip out.
Then all the guts should come out of the microphone. There is an additional part or two to remove and the piece that fits around the on off switch was missing.
Here is a picture of the new on off switch. I soldered it using the head mounted magnification lenses.


