My third humanoid robot is working to some degree. I have had lots of problems with the 3D printed parts. The filament was likely the issue because I have used 2 other filaments that did not break as easily. His feet kept beaking amoung other things. I glued them back together several times. Then I finally gave up and used metal servo brackets to fix his feet.
First I removed what was left of the broken parts leaving a smooth surface.
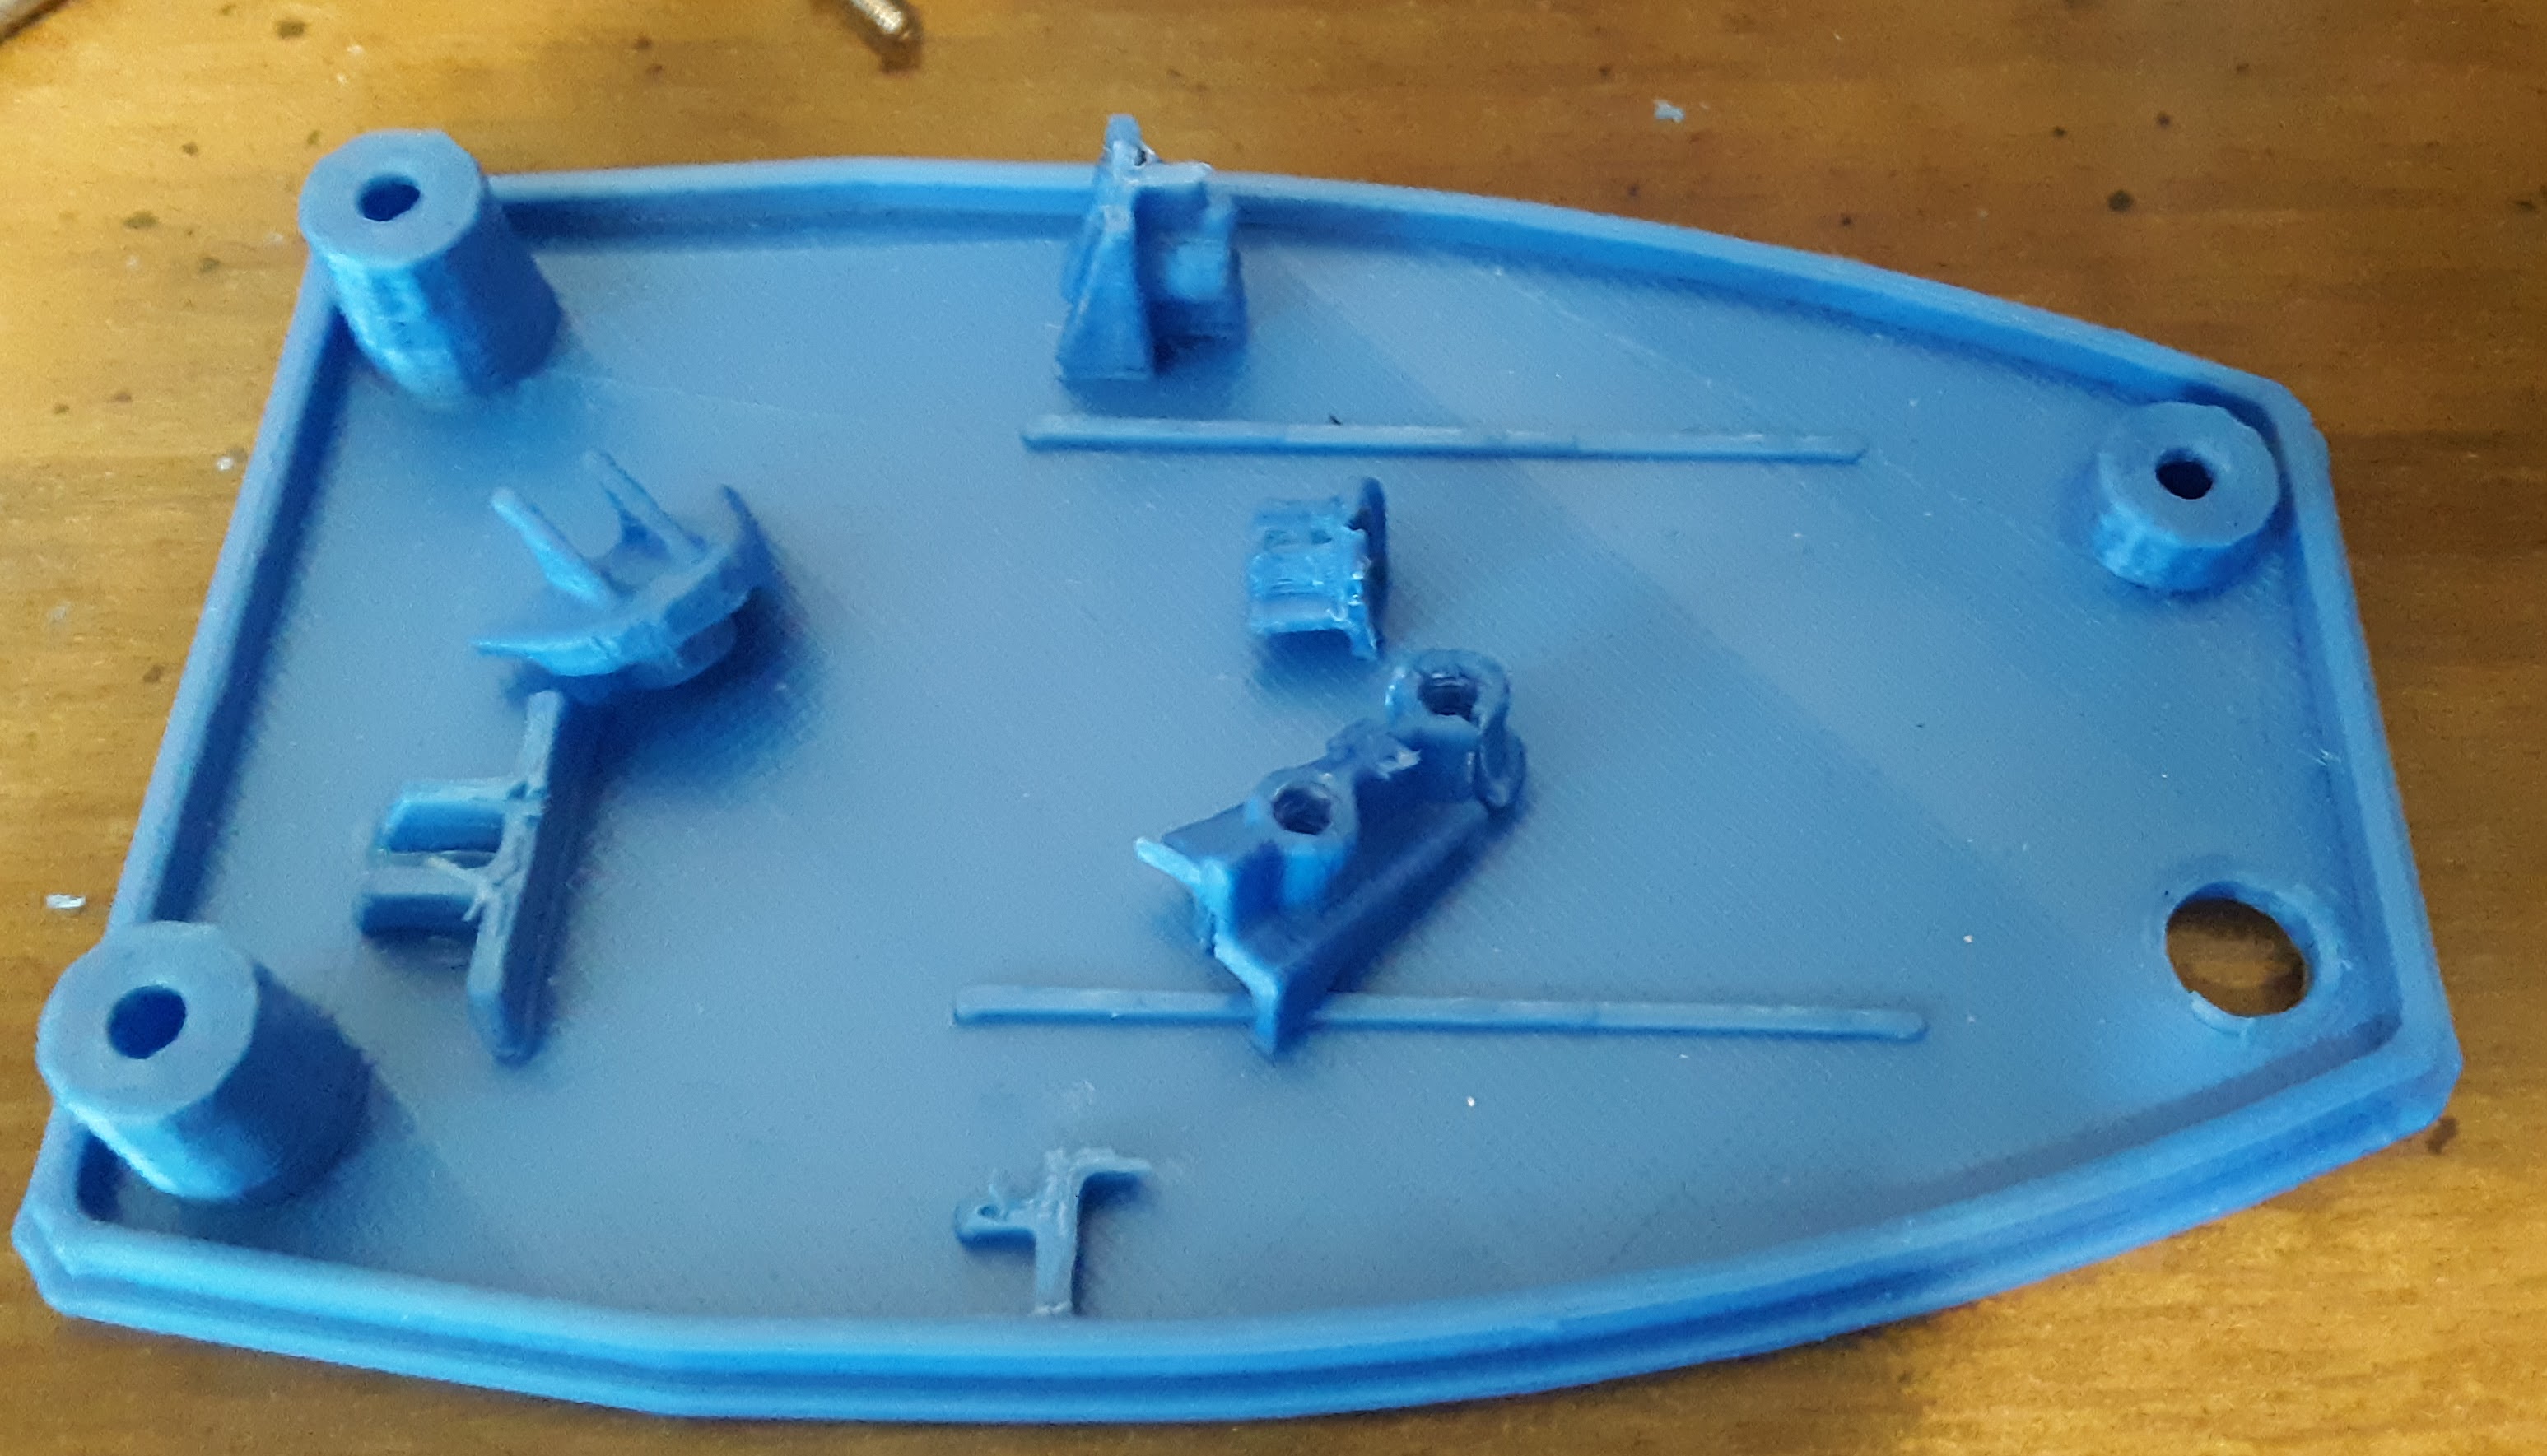

Then the servo is mounted to the bracket as shown in the next picture. Be sure to screw the servo center to the leg piece first, then screw the servo to the metal bracket. His shoes do not fit over the metal bracket so it might need to be modified as far as the bracket height goes.

Another issue with the filament I was using is how bad it looks. I printed the torso on its flat side so it took 30% less time and less filament. However that left the surface looking a little rough. I watched several videos and then decided to prime and paint it. I used three layers of sandable primer with light sanding between them. BTW I did the same thing with his shoes to save time and filament. However the two cans of spray paint were nearly $20!!
This shows how bad the torso looked. It has been lightly sanded for this picture.


Then the final product, it looks really good! Issues included needing to fix any cracks before you start. There were some cracks on the sides that are still visable. You can use a soldering iron on the inside to carefully melt them back together. I had previously reinforced some of the bottom with plastic pieces glued across the layers to hold them together.

No comments:
Post a Comment