Thursday, June 1, 2023

2011 Chevy Equinox One Year Repair history.

Well it has almost been a year since I purchased the Chevy Equinox.  It has been an expensive year at that!  I cannot remember what some of the prices were so I guessed what they might have been.

First year repairs:

Starter                                 ~$200 (Replaced it myself)
Water Pump                        $700
VVT Valves                        ~$200
HP Fuel Pump (Twice)       ~$300 (Had striped bolts, needed helicoils installed)
Alternator                           ~$500
Front Brakes                       ~$500
Wheel Bearing                    $375
Throttle Body                     $100 (Did not help anything)
Oil Pump                            $450 (Lost oil pressure when idleing when hot)
               Approx Total:      $3325

Still needed:

Rear Brakes $400
Front tires    $500

The problem is that the high pressure fuel pump puts a load on the cam shaft that puts a load on the cam shaft actutor, then the timing chain, then the timing chain guides and tensioner then the oil pump.  On top of that direct injection does not clean the intake valves that get covered in burnt oil from the PCV valve. On top of that it takes a quart of oil every 1,000 miles because of low tension piston rings that do not clean up all the oil so it gets burnt onto the rings thus cakeing them in burnt oil.

At one point the car would go into limp mode and shut down every mile or two.  I really struggled to get it back home.  It turns out that the HP Fuel pump had broken, the spring was completely detached, and it was pumping gas into the oil as well as leaking gas on the motor front.  One of the pump mounting bolts had broken in half!!

BTW, this is how to fix an Equinox that will not start (that still has dash lights), just unplug the circled connector on the computer and then plug it back in (This also erases all problem codes):


Since I wrote this it developed another issue.  It would stall sometimes when you stop and sometimes when you almost stop to make a turn.  Then it went into limp mode and would not leave first gear.  So I added some Lucas transmission fix and it has not stalled since then.  It does still sometimes have a rough shift down so I think it needs to have the transmission fluid changed.


JBL SB2 Subwofer Speaker Repair

 I recently repaired some JBL SB2 subwoofers.  They had been overpowered and there were boils in the voice coil form. I have never fixed a speaker with this problem before.  It was hard to get a file in there because of the magnetic field.  But once in place it turned it side to side to remove the bubbles.


Once the bubblew were cleaned up I glued the cover back on and tested the speaker and it worked!

Good Bye to the 2008 Ford Taurus

Well the Ford Taurus developed a really bad brake fluid leak.  i crawled under it and discovered that the drivers side rear tire support had rotted out, as well as the brake lines.


I fixed that with expanding foam.  It actually drove better!

Between those issues, it getting stuck in first gear, the AC not working and a few other issues it went to the scrap metal heap.

Thursday, May 25, 2023

E4SW6518RKU 65 inch TV Repair LED Backlights

I recently fixed a E4SW6518RKU 65 inch TV by replacing the LED Backlights.  The TV is so huge that there was almost not enough room where I was working on it.  So I stacked everything behind it as I took them out so they would go back in in the same order.  The screen was attached to the black plastic pieces so I tokk them out together, but that makes it very difficult to put it back together.  Perhaps a knife would have seperated the screen from the black plastic parts.


The old LED strips are glued in.  You have to rock them side to side to get them out.  Even then they will be bent and the lens will pop off them..


One of the screen ribbon cables came apart so I used a clip to reattach it, but this does not seem reliable enough. Anyone have a better solution??


Saturday, March 4, 2023

Replacing a 30 gallon hot water heater with a 40 gallon one

About 10 years ago I replacde my hot water heater.  There is a old blog post on it.  For some reason the bottom element quit working so I thought i would fix it.  It turned out that there had been a water leak for a long time.  The area was completely rusted out so I did not dare touch it.  My wife wanted a 40 gallon heater but they are 21" in diameter and would not fit in the space available.  However I discovered that there is a narrow 18" diameter 40 gallon water heater that is available at Lowes.

The 12 year old water heater.  It had rust stripes below the lower element access cover.


The new narrow 40 gallon water heater.  The opening was not big enough for me to get my head in there to see the wiring so I did the wiring kind of blind.  The wire was just barely long enough.  I replaced one pipe and extended the other pipe.


Retrofitting Par 56 Light fixtures with LED lights

Someone donated some PAR56 Light fixtures.  They came equiped with 500 watt light bulbs.  That means that you can only have three of them on a typical 120 volt circuit.  So I thought I would retrofit them with some LED lights.  But a direct replacement LED light is $100 each!  Then I came up with a retrofit that can fit almost any light from a PAR38 sized bulb.  Now they are not as bright, typically 1000 to 2000 lumens.  The 500 watt lights are around 6000 lumens!  But the LED lights are still very bright, even blinding to look at.

All you need for the retrofit is a metal strap, it needs to be strong, I have doubled up some of the wimpy straps to get enough strength. Then you need a 1000 watt ceramic socket.  I bought several of them on ebay.


Here is an ad for the ceramic light sockets.  You have to reroute the wires so the mounting hole can be used.  A 10-32 screw and nut works well to mount the socket to the strap. 

Here is an ad for some 1650 lumen, 19.5 watt LED light bulbs.  Make sure they are dimmable and daylight 5000 kelvin lights.

Monday, February 20, 2023

LED Sign updated with ESP32 and LED Dividers

 I have updated my LED signs with an ESP32 processor and LED Dividers.  The hope is to eventually support some sort of graphics.  Maybe even design it on your phone and upload it to the sign.

Here is a project by someone else that supports 16x16 graphics on your phone: 

https://www.hackster.io/mircemk/how-to-control-16x16-ws2812-led-matrix-with-smartphone-c073fb

I also made an instructable for this project:

https://www.instructables.com/Four-Foot-Long-LED-Signs/

The biggest change was to add dividers between the LED's.  This picture is of the dividers being installed on the left.  As you can see it makes a big difference.  


This time I used zig zag wiring where each line goes inthe opposite direction.  At one end they get looped back by some 30 gauge wire.  At the other end they get power as shown in the second picture below.


Once the strips are wired and tested you can add the dividers.  The dividers are available at thingiverse:

https://www.thingiverse.com/thing:5801854

You will have to print out six of the design missing two sides and six of the design missing one side.  Then they are glued together ontop of the LED strips.  I added weights to hold the arrays to the sign while the glue was drying.


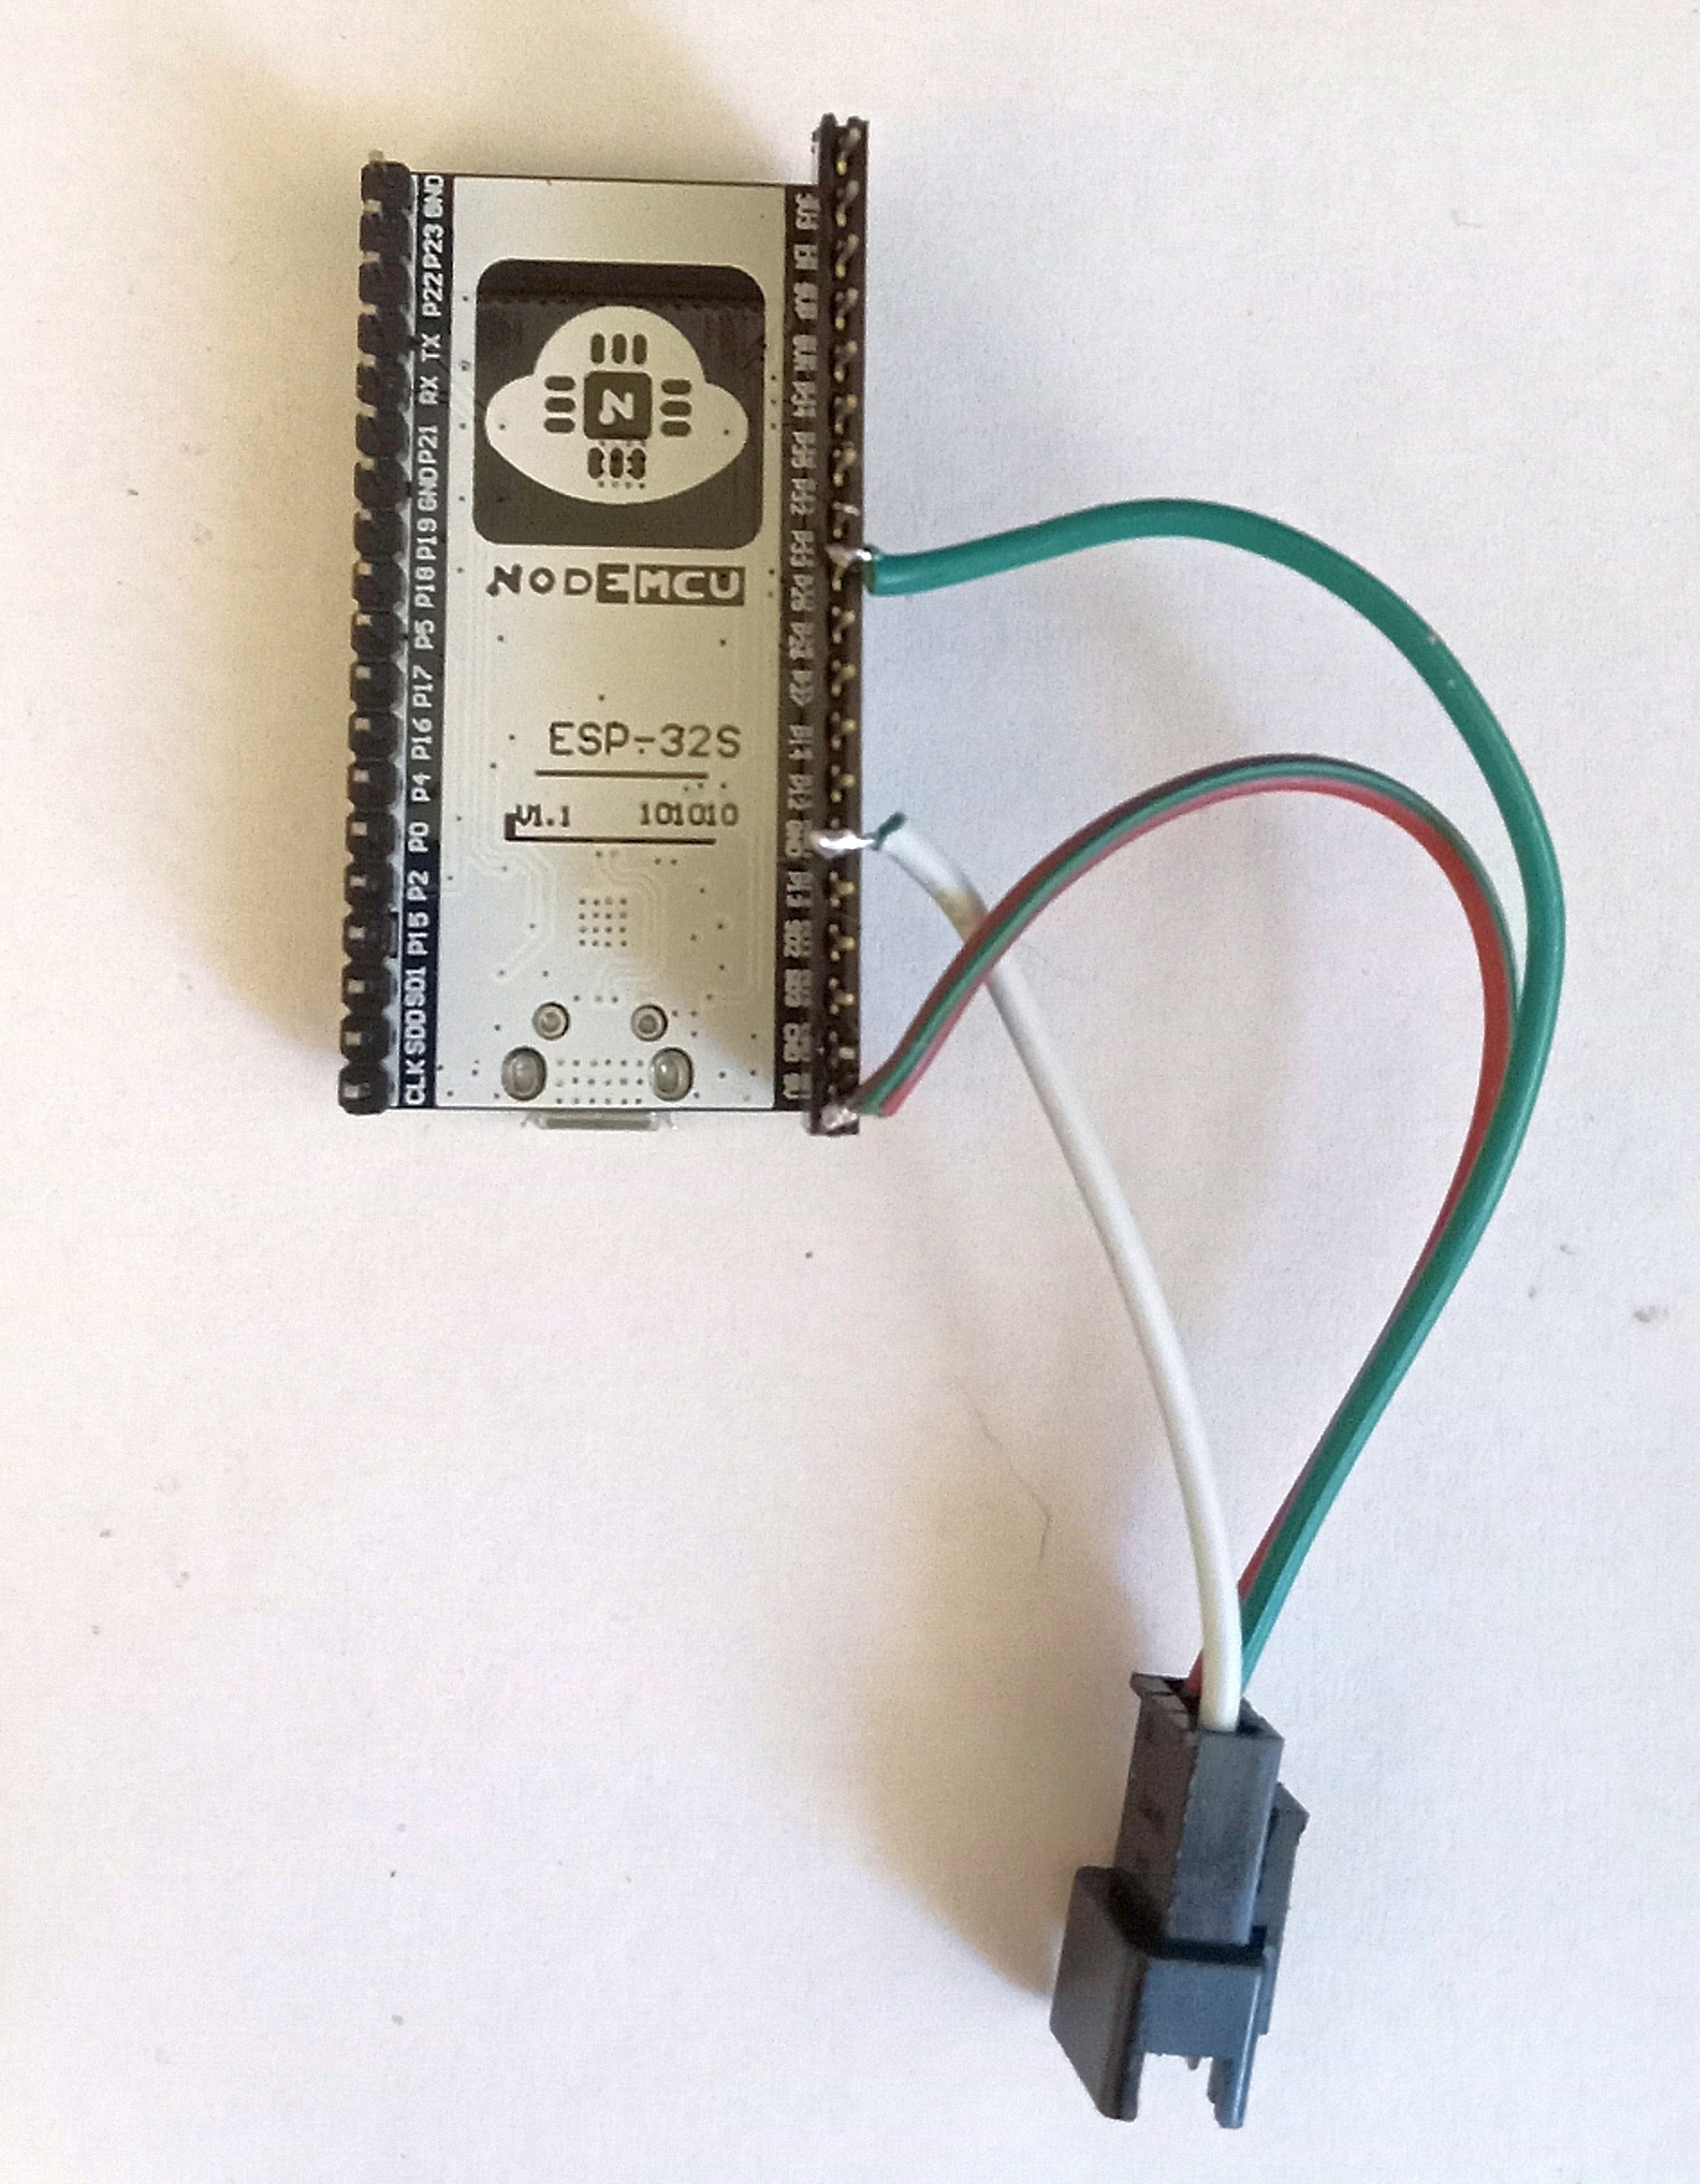
I used a ESP32 processor wired as shown below.  The code is on the instructable.


Thursday, February 9, 2023

Fix for cheap refrigerator plastic parts

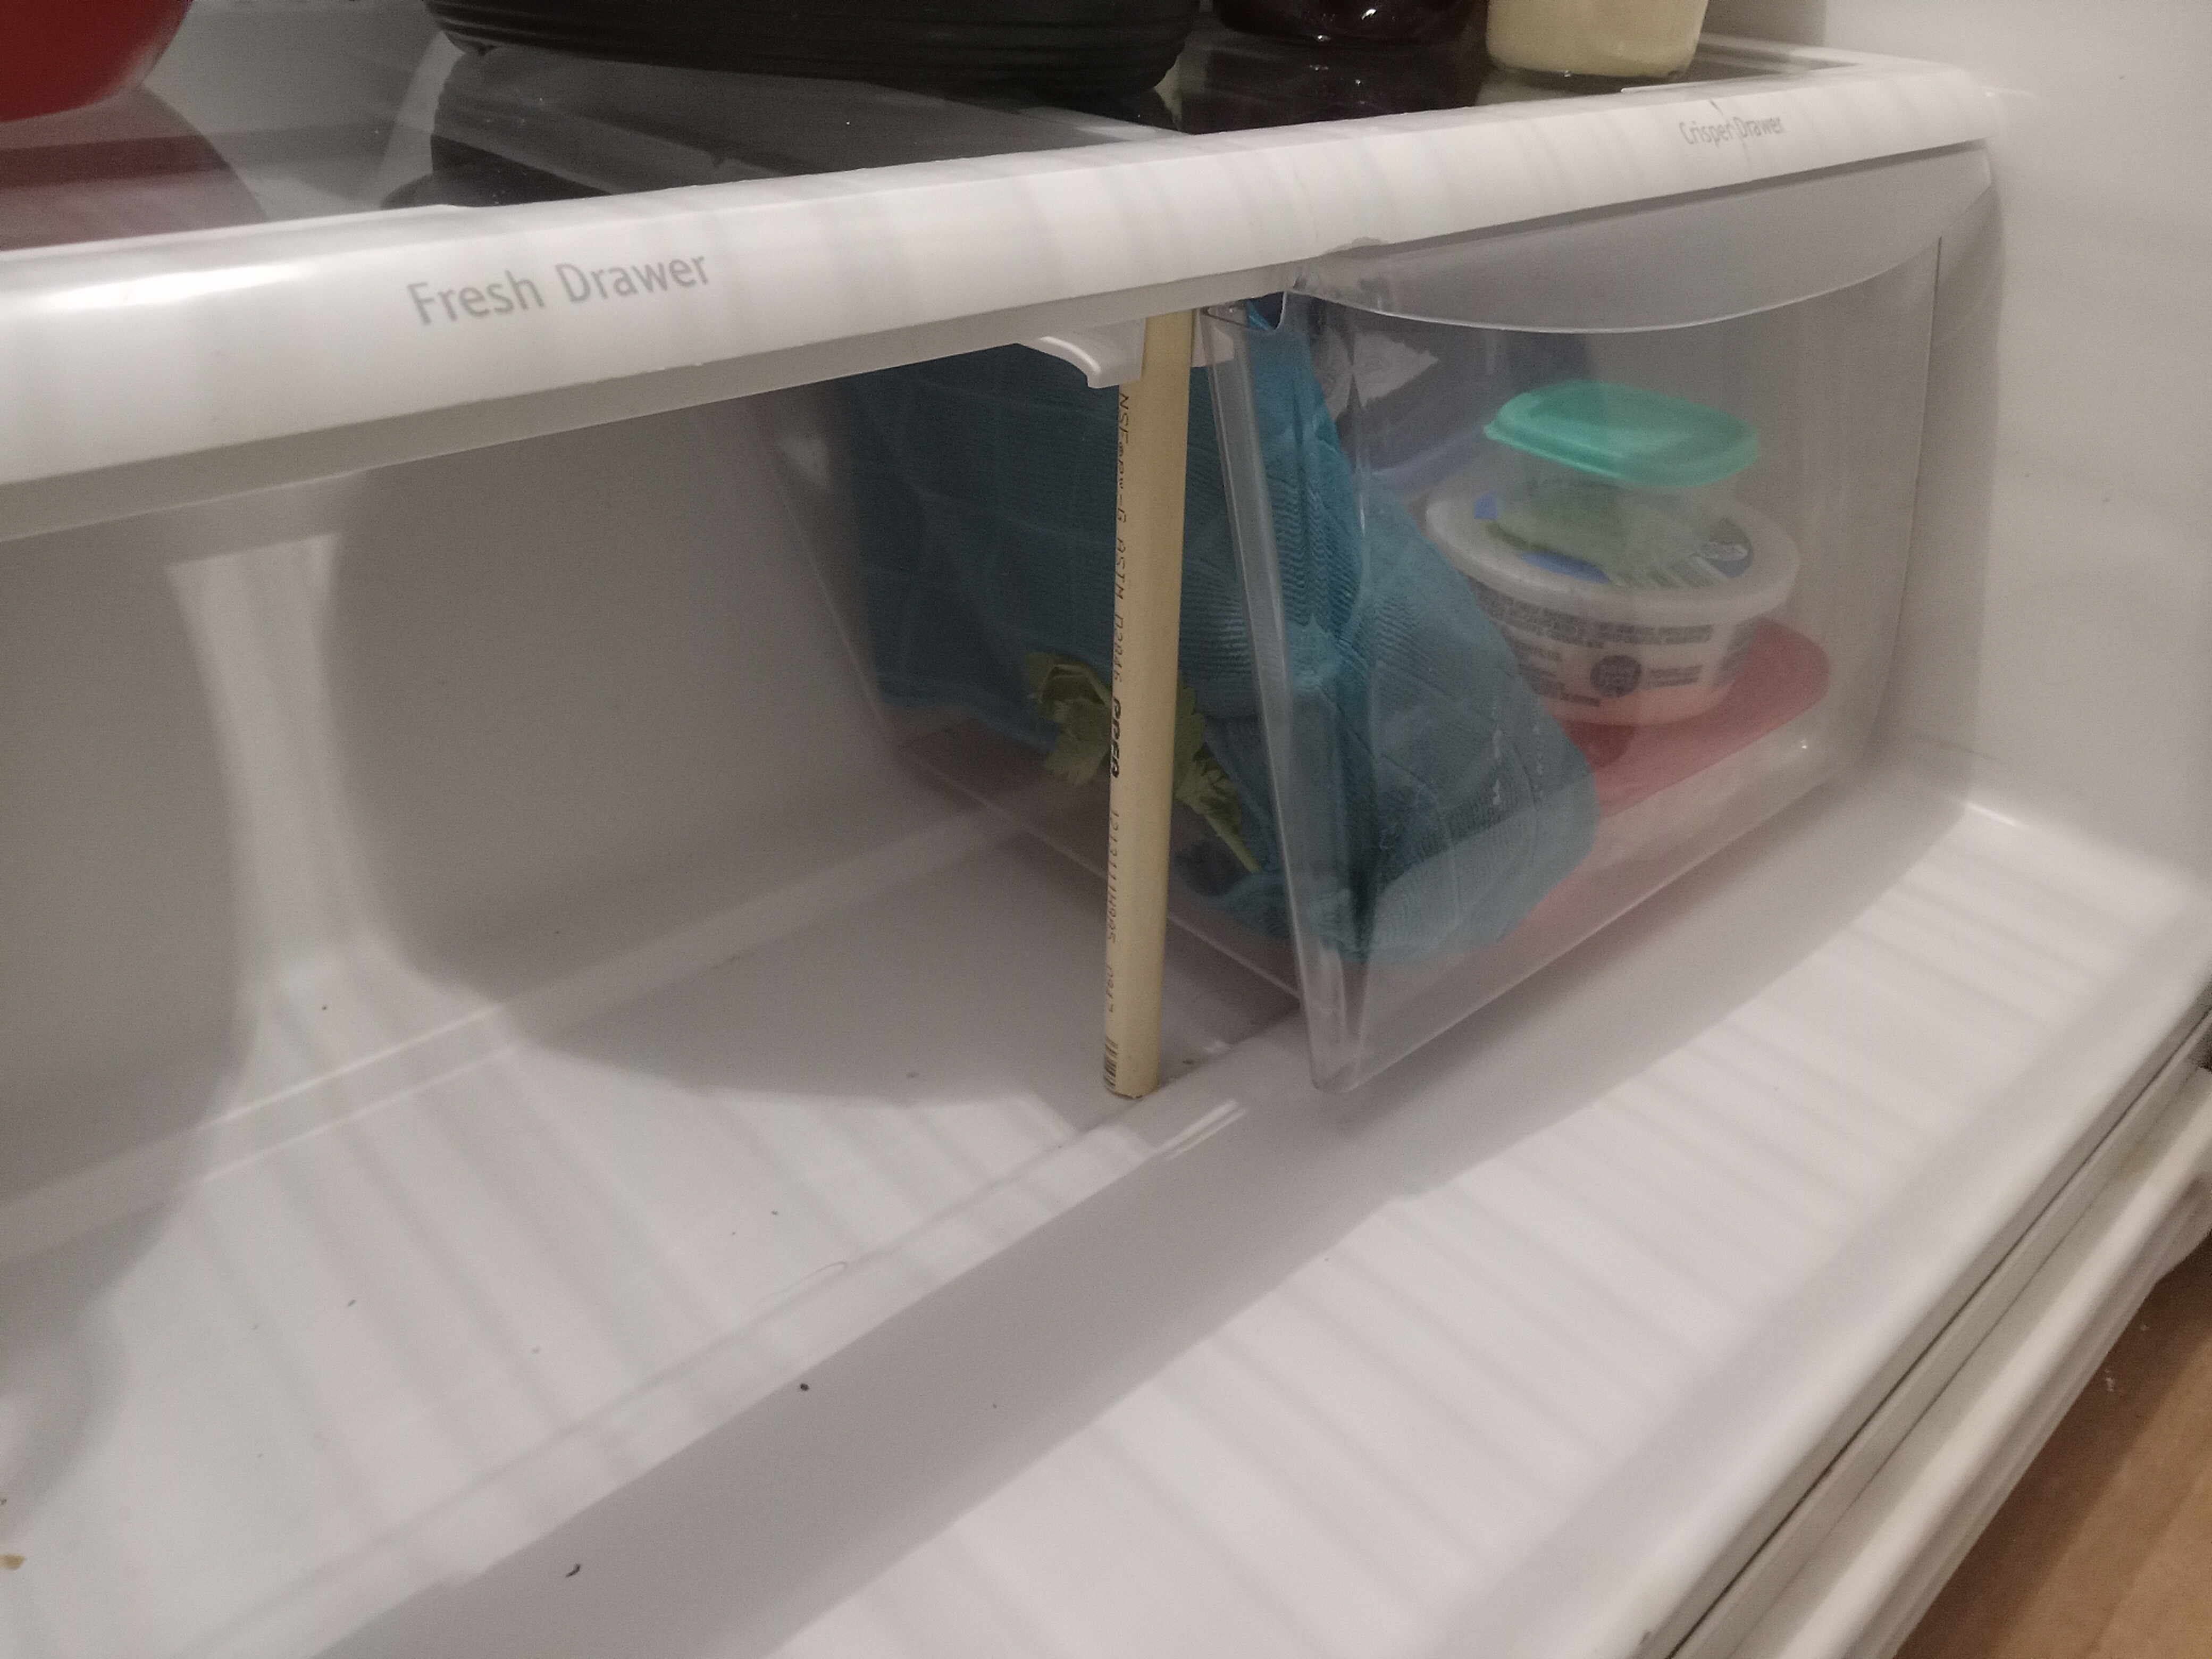
These days there are some really cheap refrigerator plastic parts.  The things in the doors break and fall out.  The bottom shelf plastic falls apart.  I looked for replacements and they run close to $100!  So I developed my own fixes for them.  To start with the door shelf holders can be fixed with a pencil and lots of glue!  The pencil is covered in E6000 or similar glue and inserted under the lip.


This is a close up of the pencil that reinforces the shelf front.

The bottom plastic surrounds a piece of glass.  The plastic breaks away and leaves the glass loose.  A nine inch long piece of 1/2 inch plastic water pipe works perfectly.  No glue is needed, but you can add some if you want.

Don't forget to fix the handle.  That breaks off rather quickly.  I used a metal strap, some screws and lots of glue.


Friday, February 3, 2023

Battery powered Rapid Fire Rektify Nerf gun

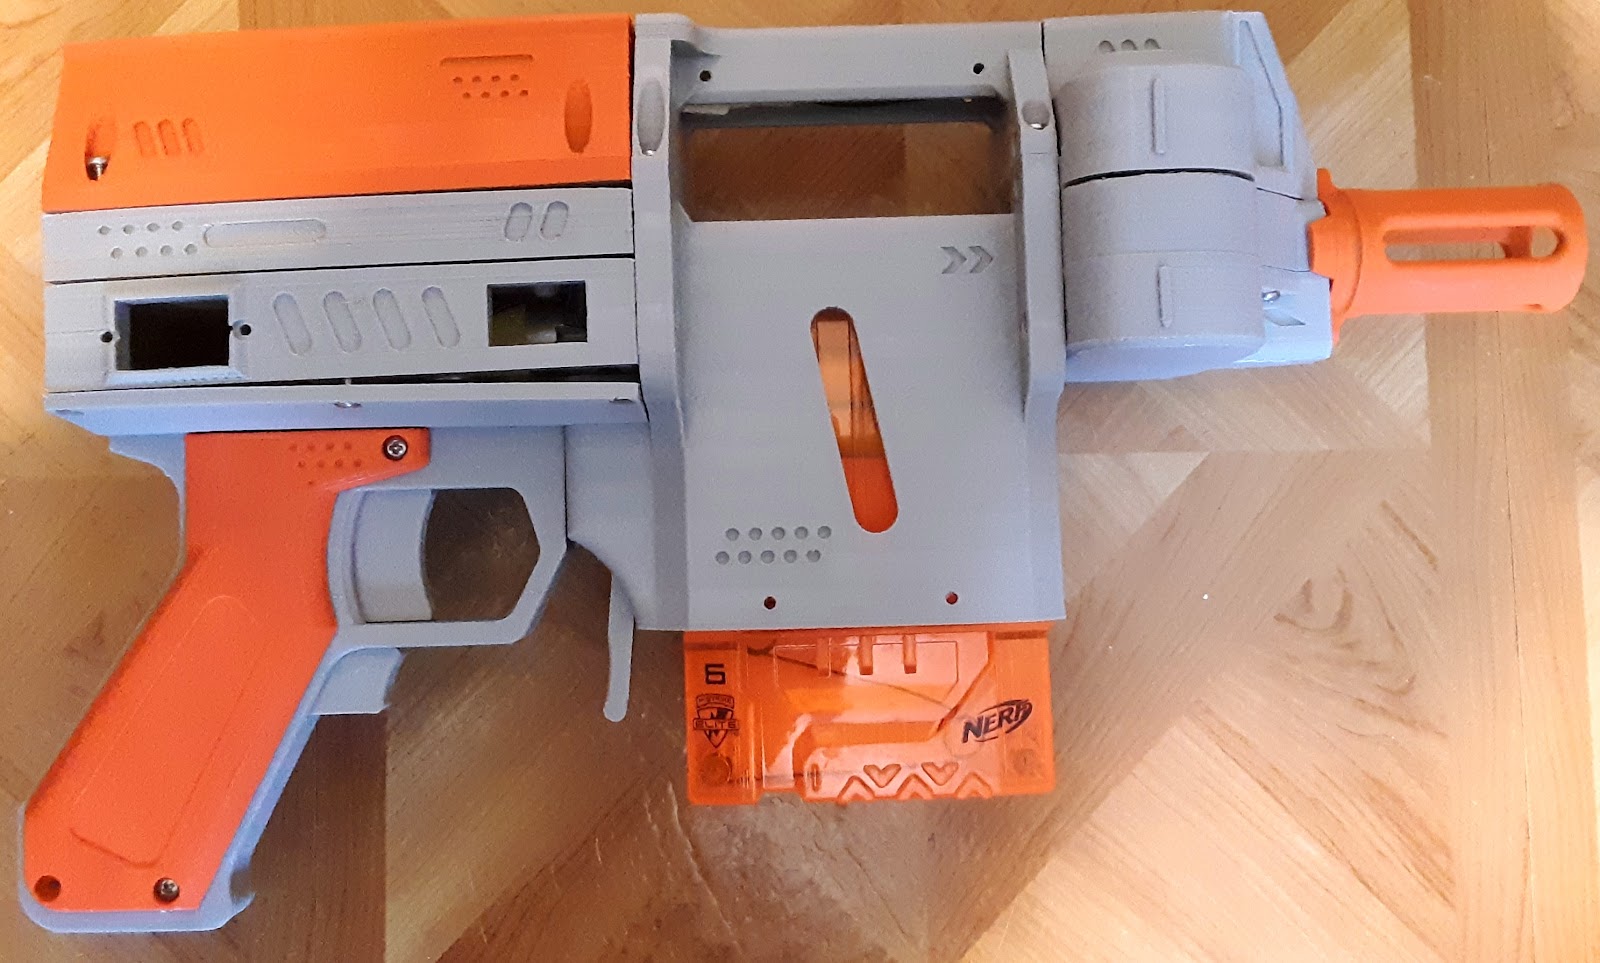
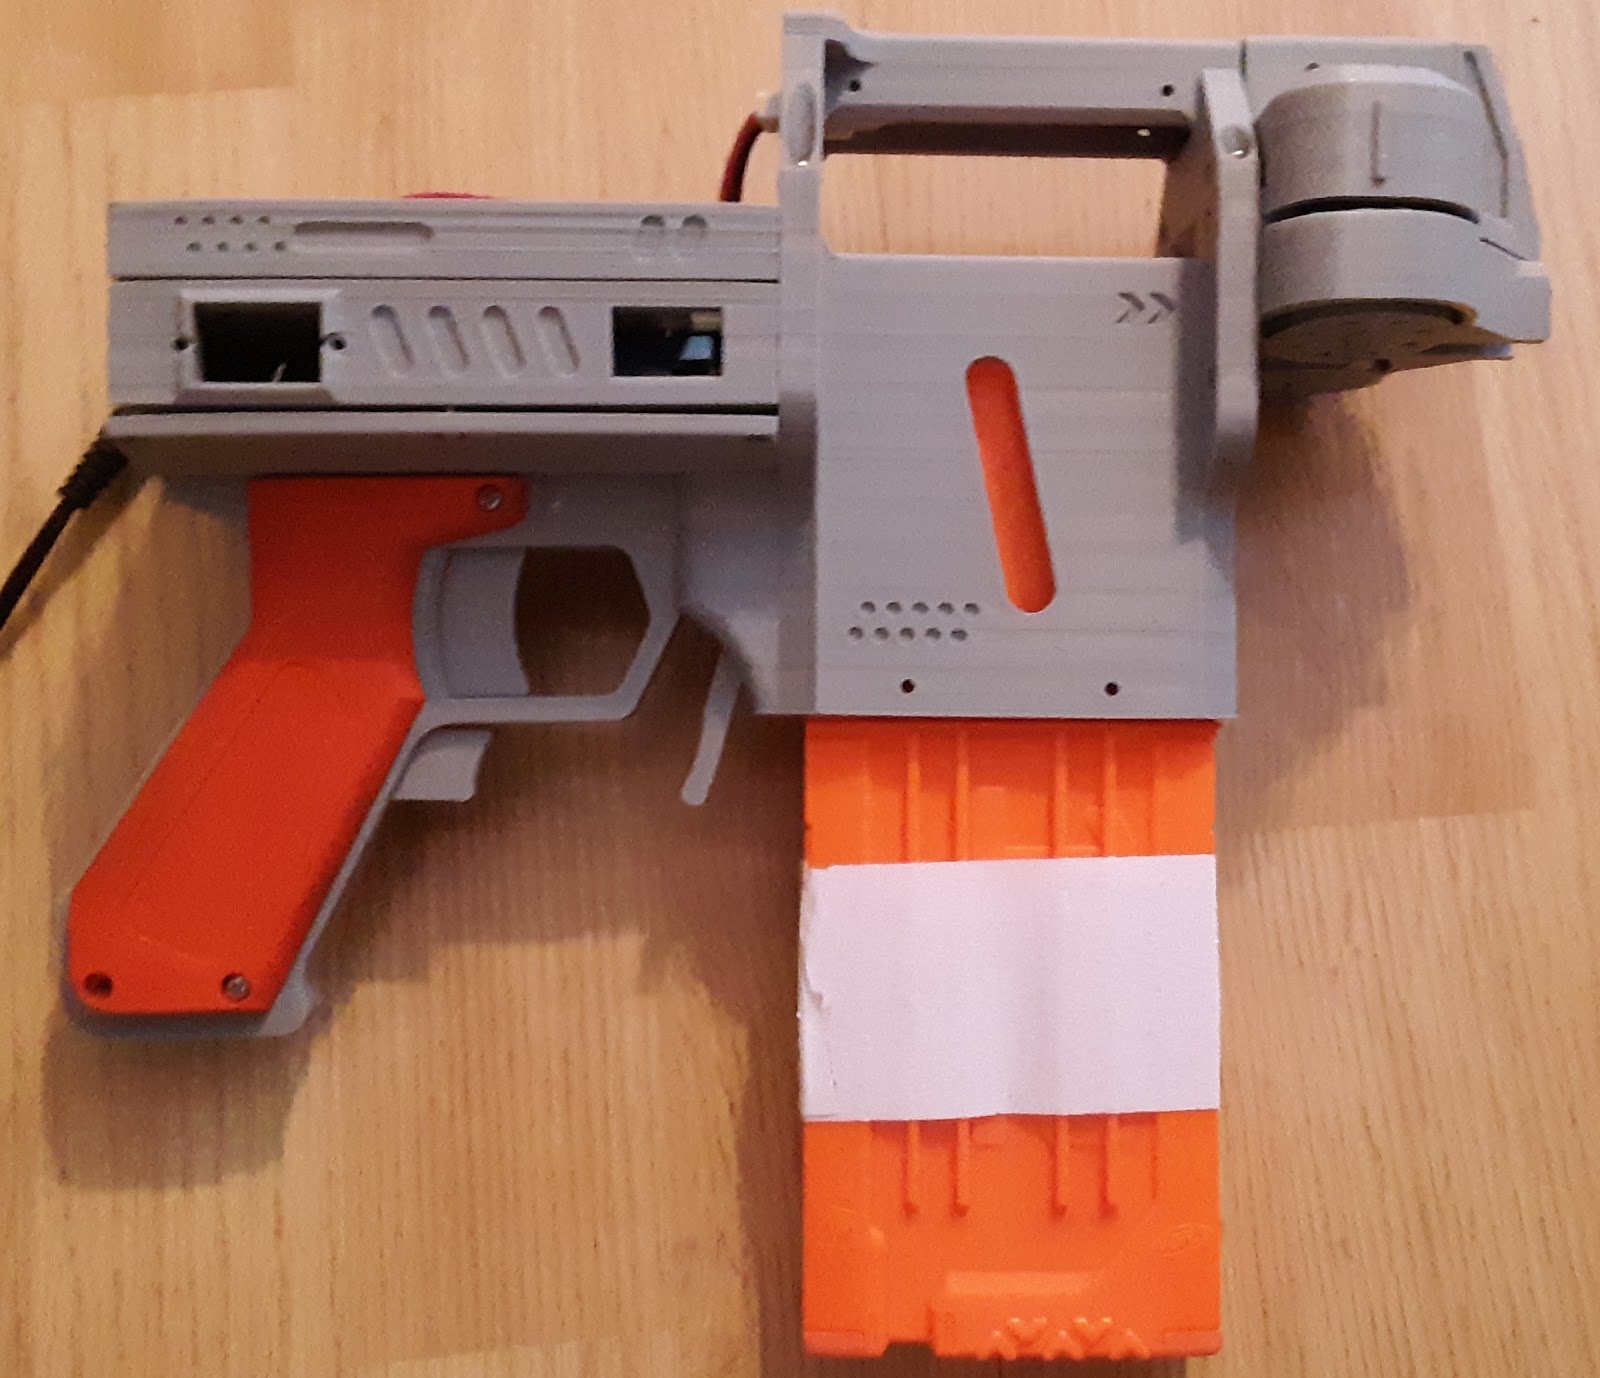
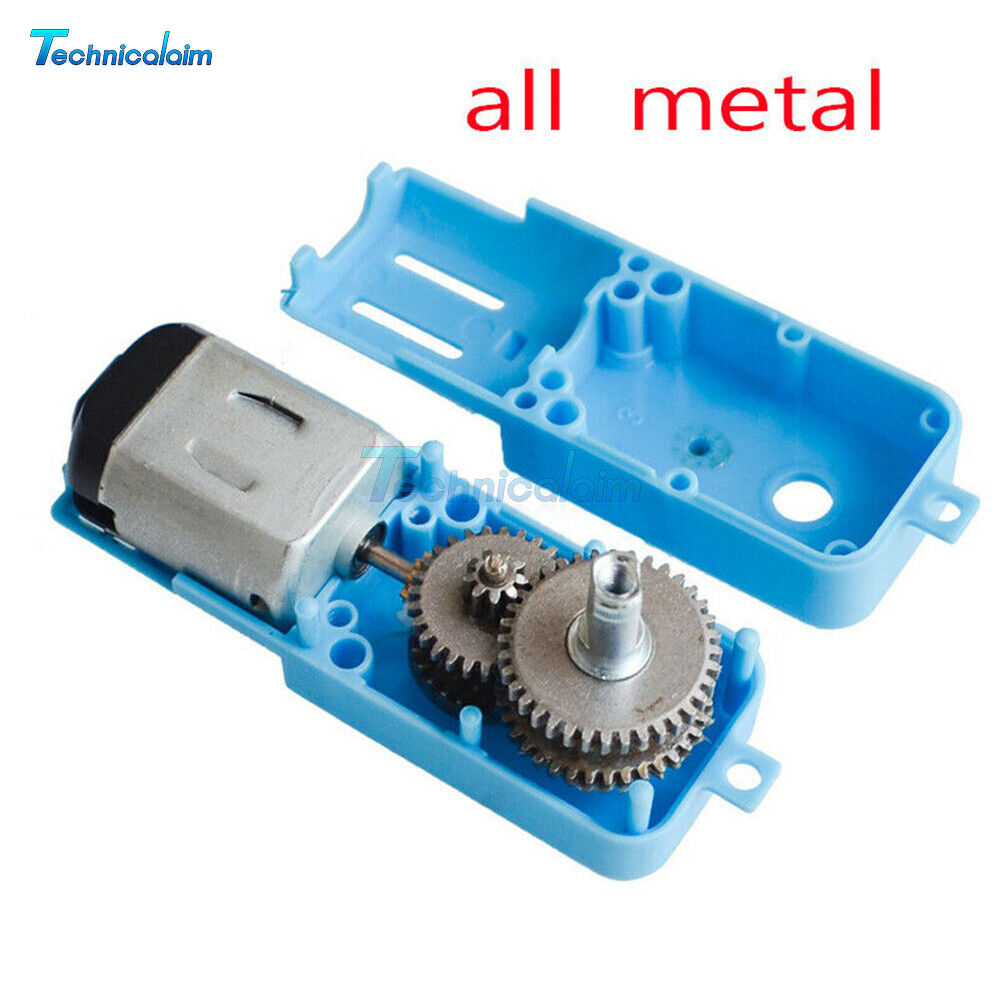
I 3D printed yet another nerf gun.  The design I used is called "rektify" and is located on thingiverse here: https://www.thingiverse.com/thing:3024361 However it needed some improvements.  The biggest problem is that the pusher would strip out the gears in the 90:1 motor gearbox.  Then I found an all metal gear version on ebay and that solved the problem.  Also I used washers as spacers between the layers around the pusher assembly.  Without the washers it gets stuck.  Another change was to drill out holes for the pusher motor gearbox mounting screws heads.  


I tested it with a 12 round magazine as well. The video is on youtube and facebook.

These are pictures of the all metal gears motor driver gearbox.


Monday, August 8, 2022

I bought a New-to-Me 2011 Chevy Equinox!

Yes, I bought a New-to-Me 2011 Chevy Equinox knowing that was a problematic year.  The crux of the issue is they added a high pressure fuel pump that overloads the timing chain that then fails.  It has a new timing chain, actually the previous owner had it replaced twice!  It also had high pressure fuel pump issues and a bad catalytic converter.  On top of that it stalled every time you slowed down or stopped.  

FOLLOW UP - It turned out the water pump was bad, whoever changed the chain did not replace the water pump.  On top of that the exhaust manifold was cracked, my mechanic welded it back together.  Also someone had drilled a hole in the intake manifold, on the bottom side, so it was missed at first.  I think they were trying to duplicate the effect of the oil catch can.


My mechanic friend replaced the Variable Valve Timing selenoids and now it runs much better.  They had been replaced SEVERAL times before.  Use premium ones!

Next I added Dura Lube Severe Catalytic & Exhaust Treatment to the gas.  After about an hour of driving the check engine light went out so I quickly got it inspected.  The check engine light has stayed out and there are no error codes other than an occasional fuel pump error.

Then the next day the starter died in my driveway.  So I repleced the starter and the car was back up and running.  It took an hour but the ground clearance is enough that you can do it without jacking up the car.

Then I added an oil catch can to reduce the amount of oil that is sucked into the engine to clog the catalytic converter.

Next up was replacing the fuel pump and checking the PCV valve opening on the intake manifold.  I also got pictures of the intake valves.  The pump was easy to remove.  In fact it was too easy.  When I went to put it back I discovered that the screws were badly stripped!  Then I notice that the old pump O ring was shot and that oil had been leaking down the front of the engine!


The fix I used was to use some 7/16 screws instead of the 10 mm screws (on the left in the picture).  I did not have a tap so I put the 7/16 inch screws in about 1/2 an inch then tightened nuts on the screws to hold the pump in place until I can properly tap the holes.


The intake valves were caked in carbon build-up.  This is a picture of a better set of valves.  I hope to use some intake valve cleaner on them.  I did spray some carb cleaner on them while I had the intake cover off.

This picture shows the oil that had been leaking down the front of the engine.  The oil filter cap is also messed up...


Wednesday, June 29, 2022

Arduino Tank with Nerf Launcher

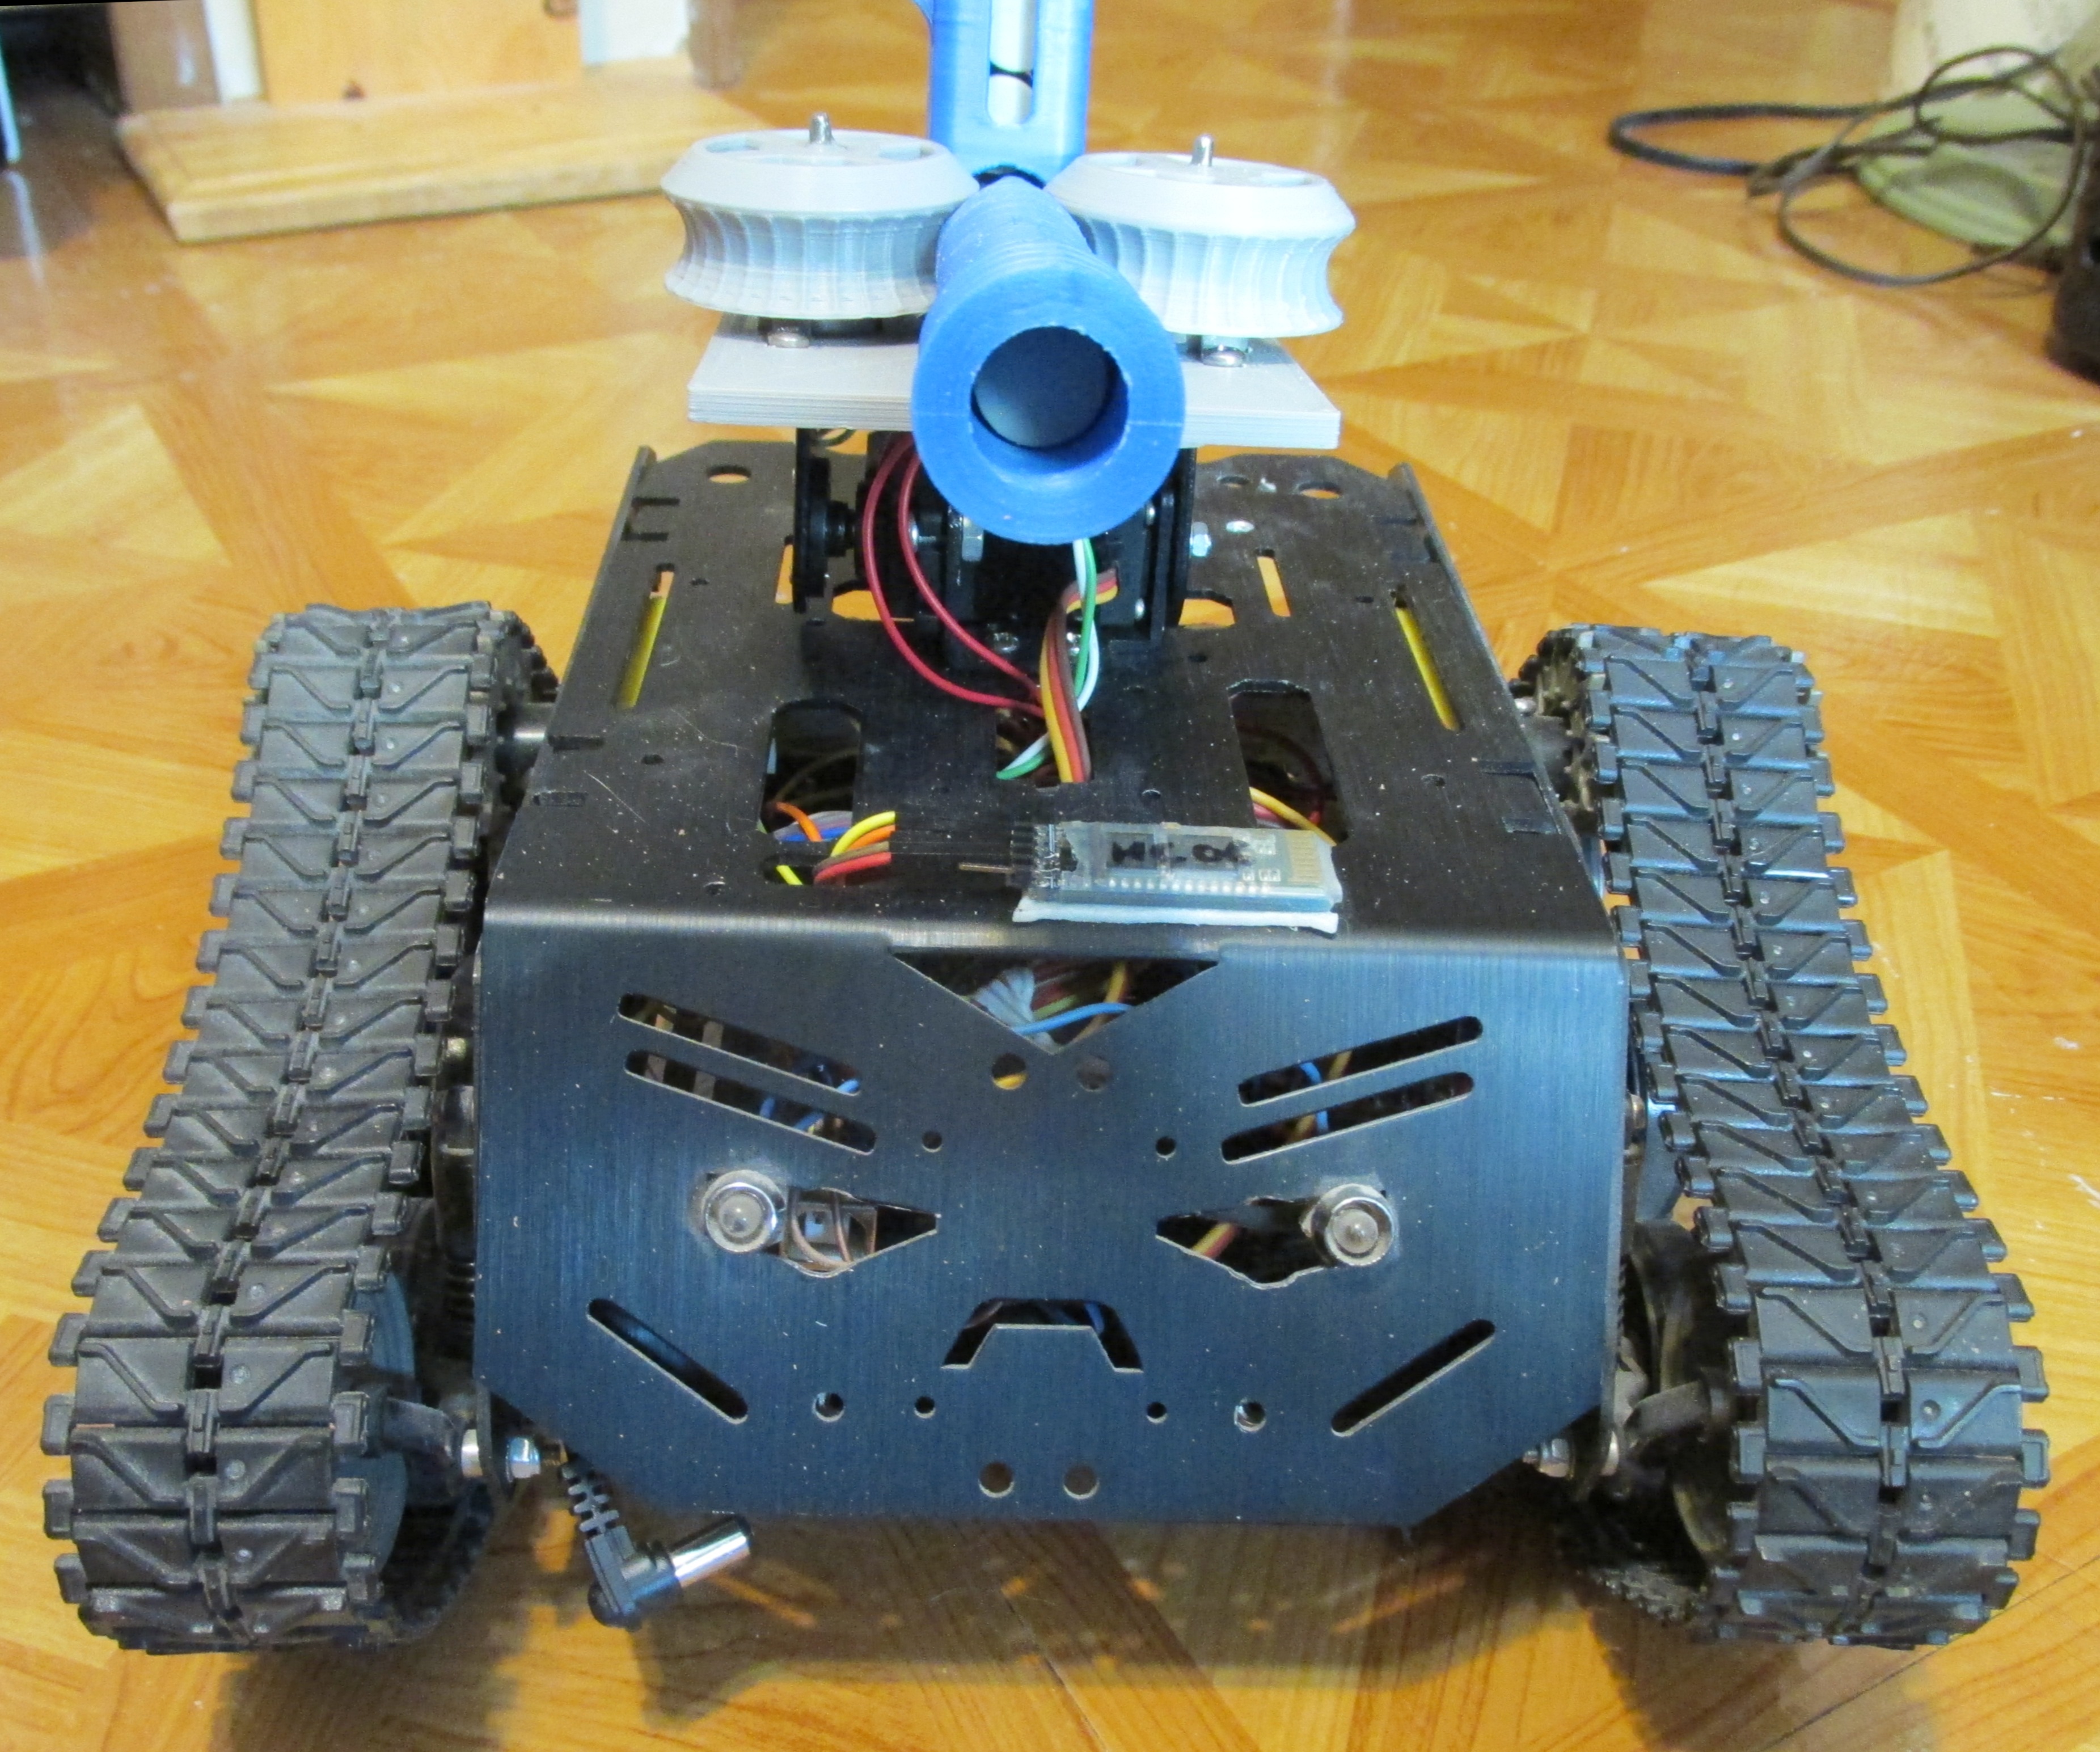
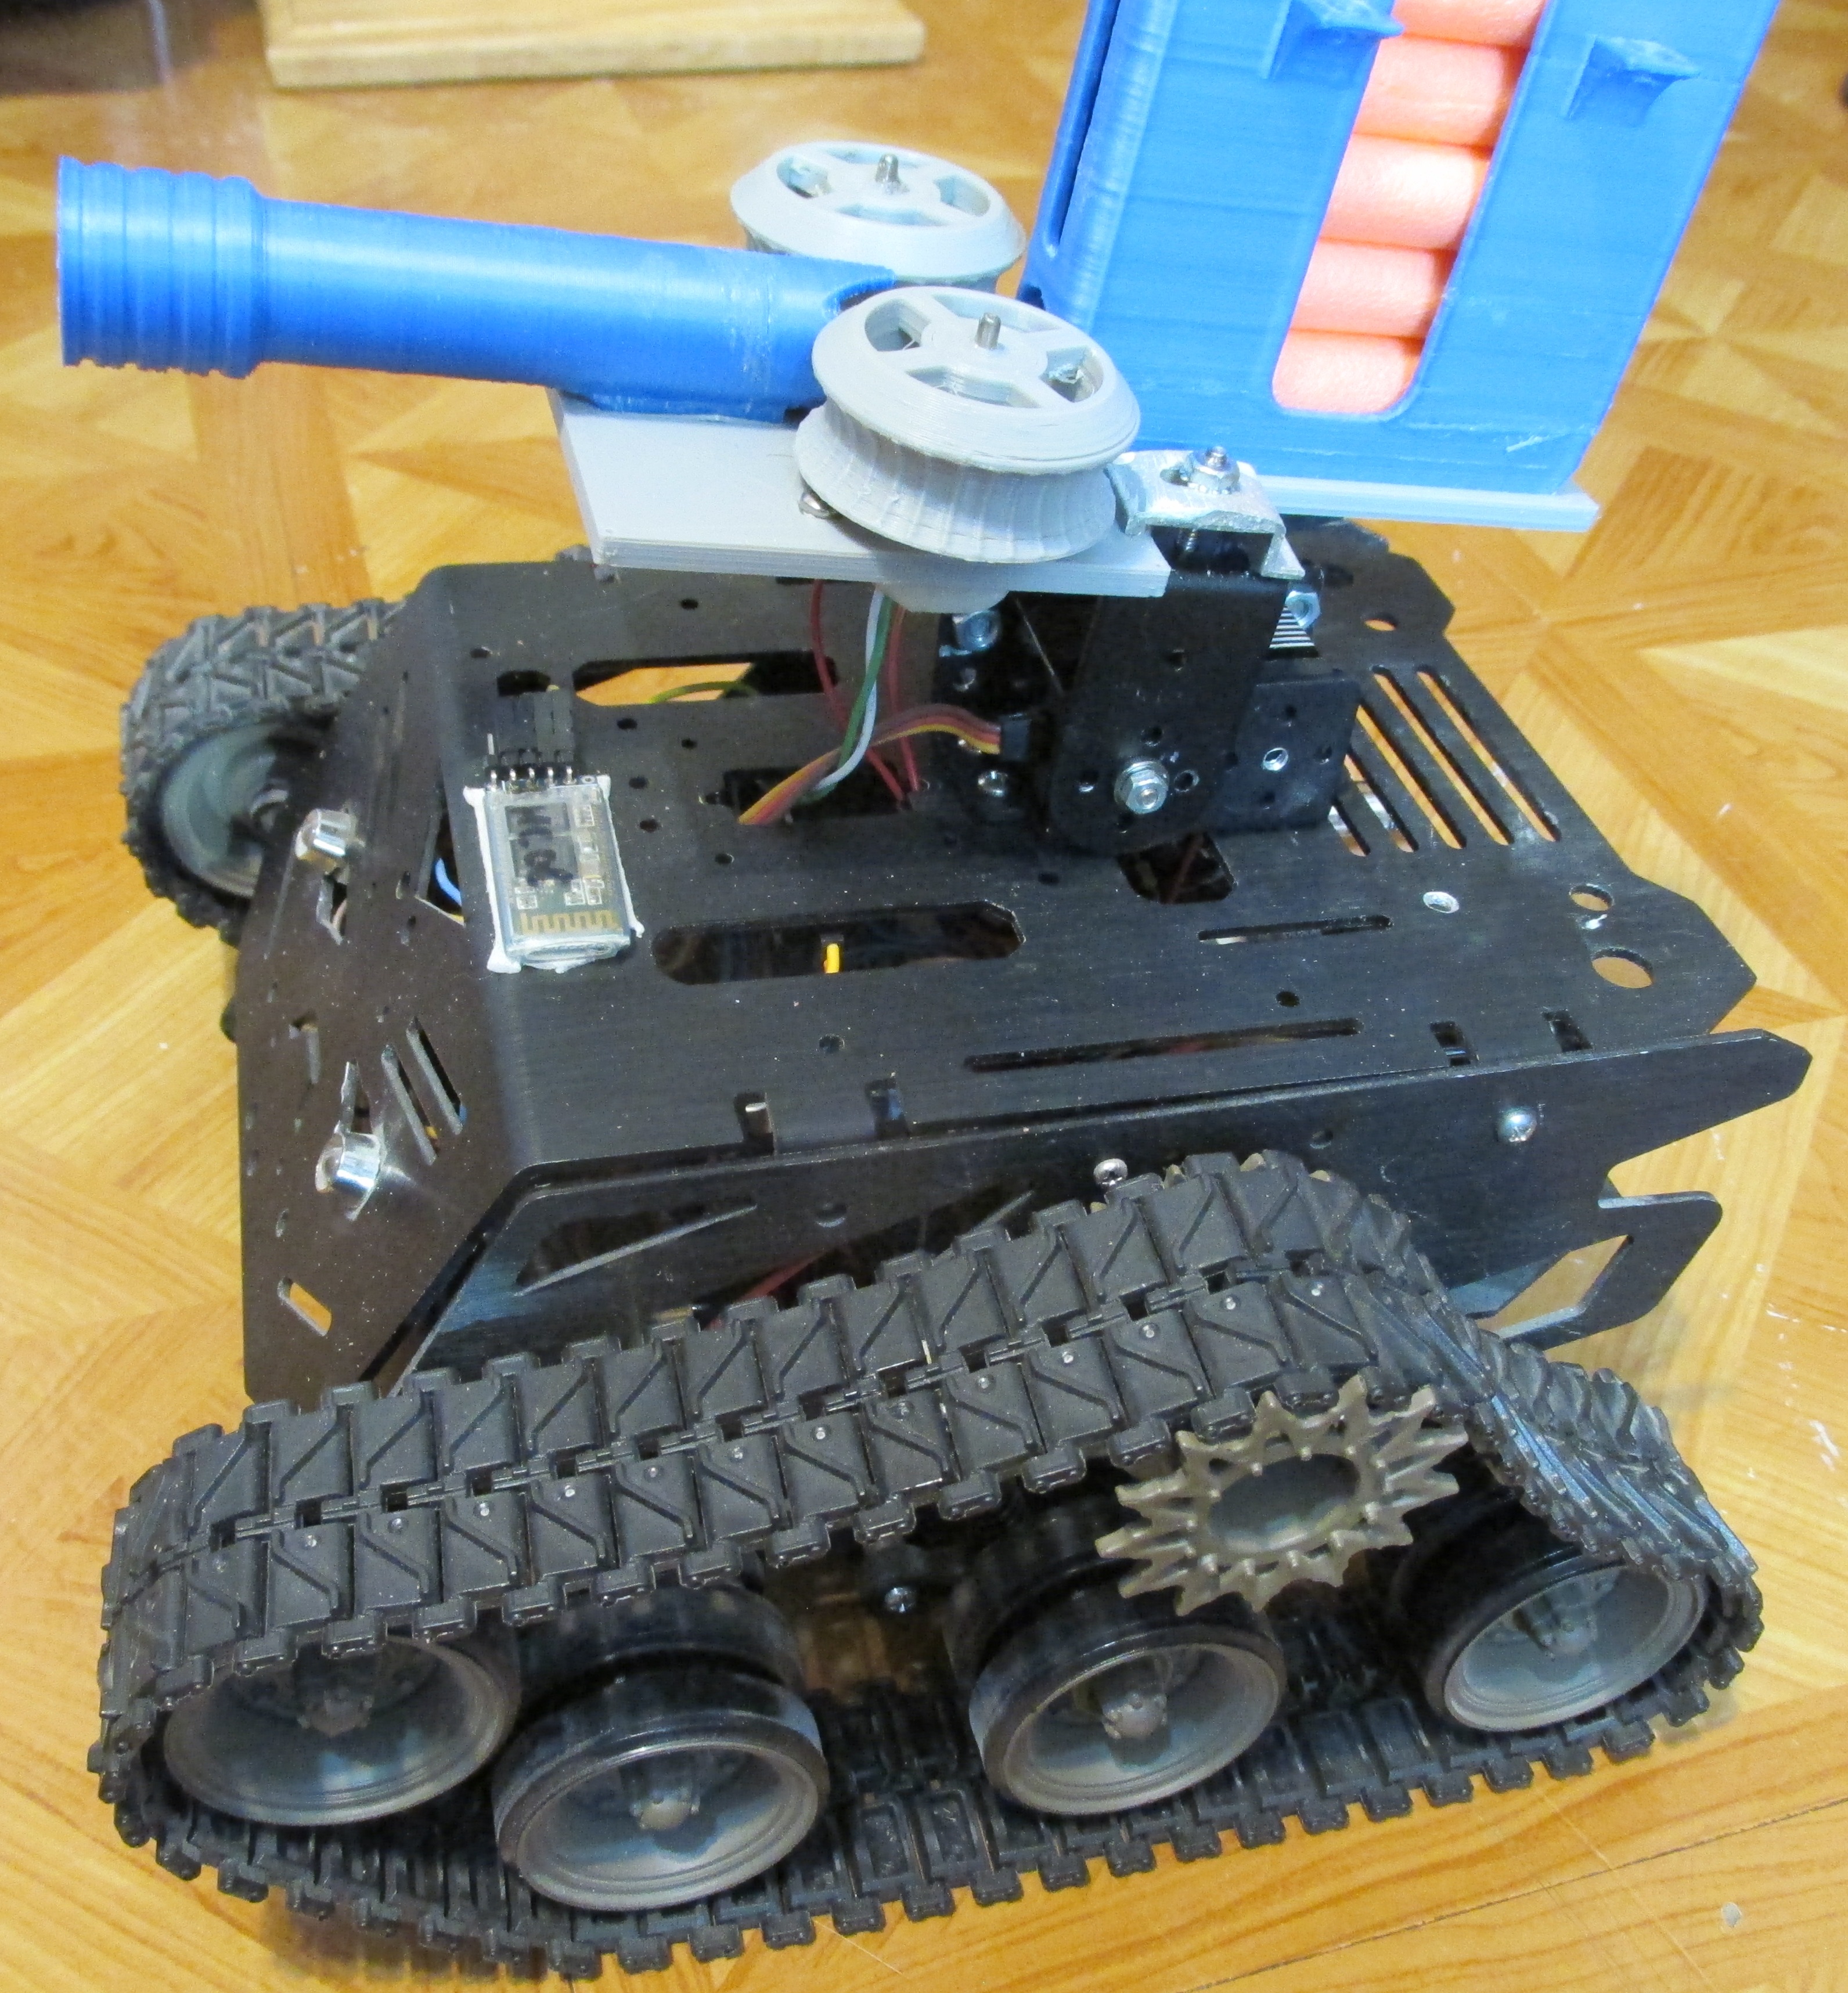
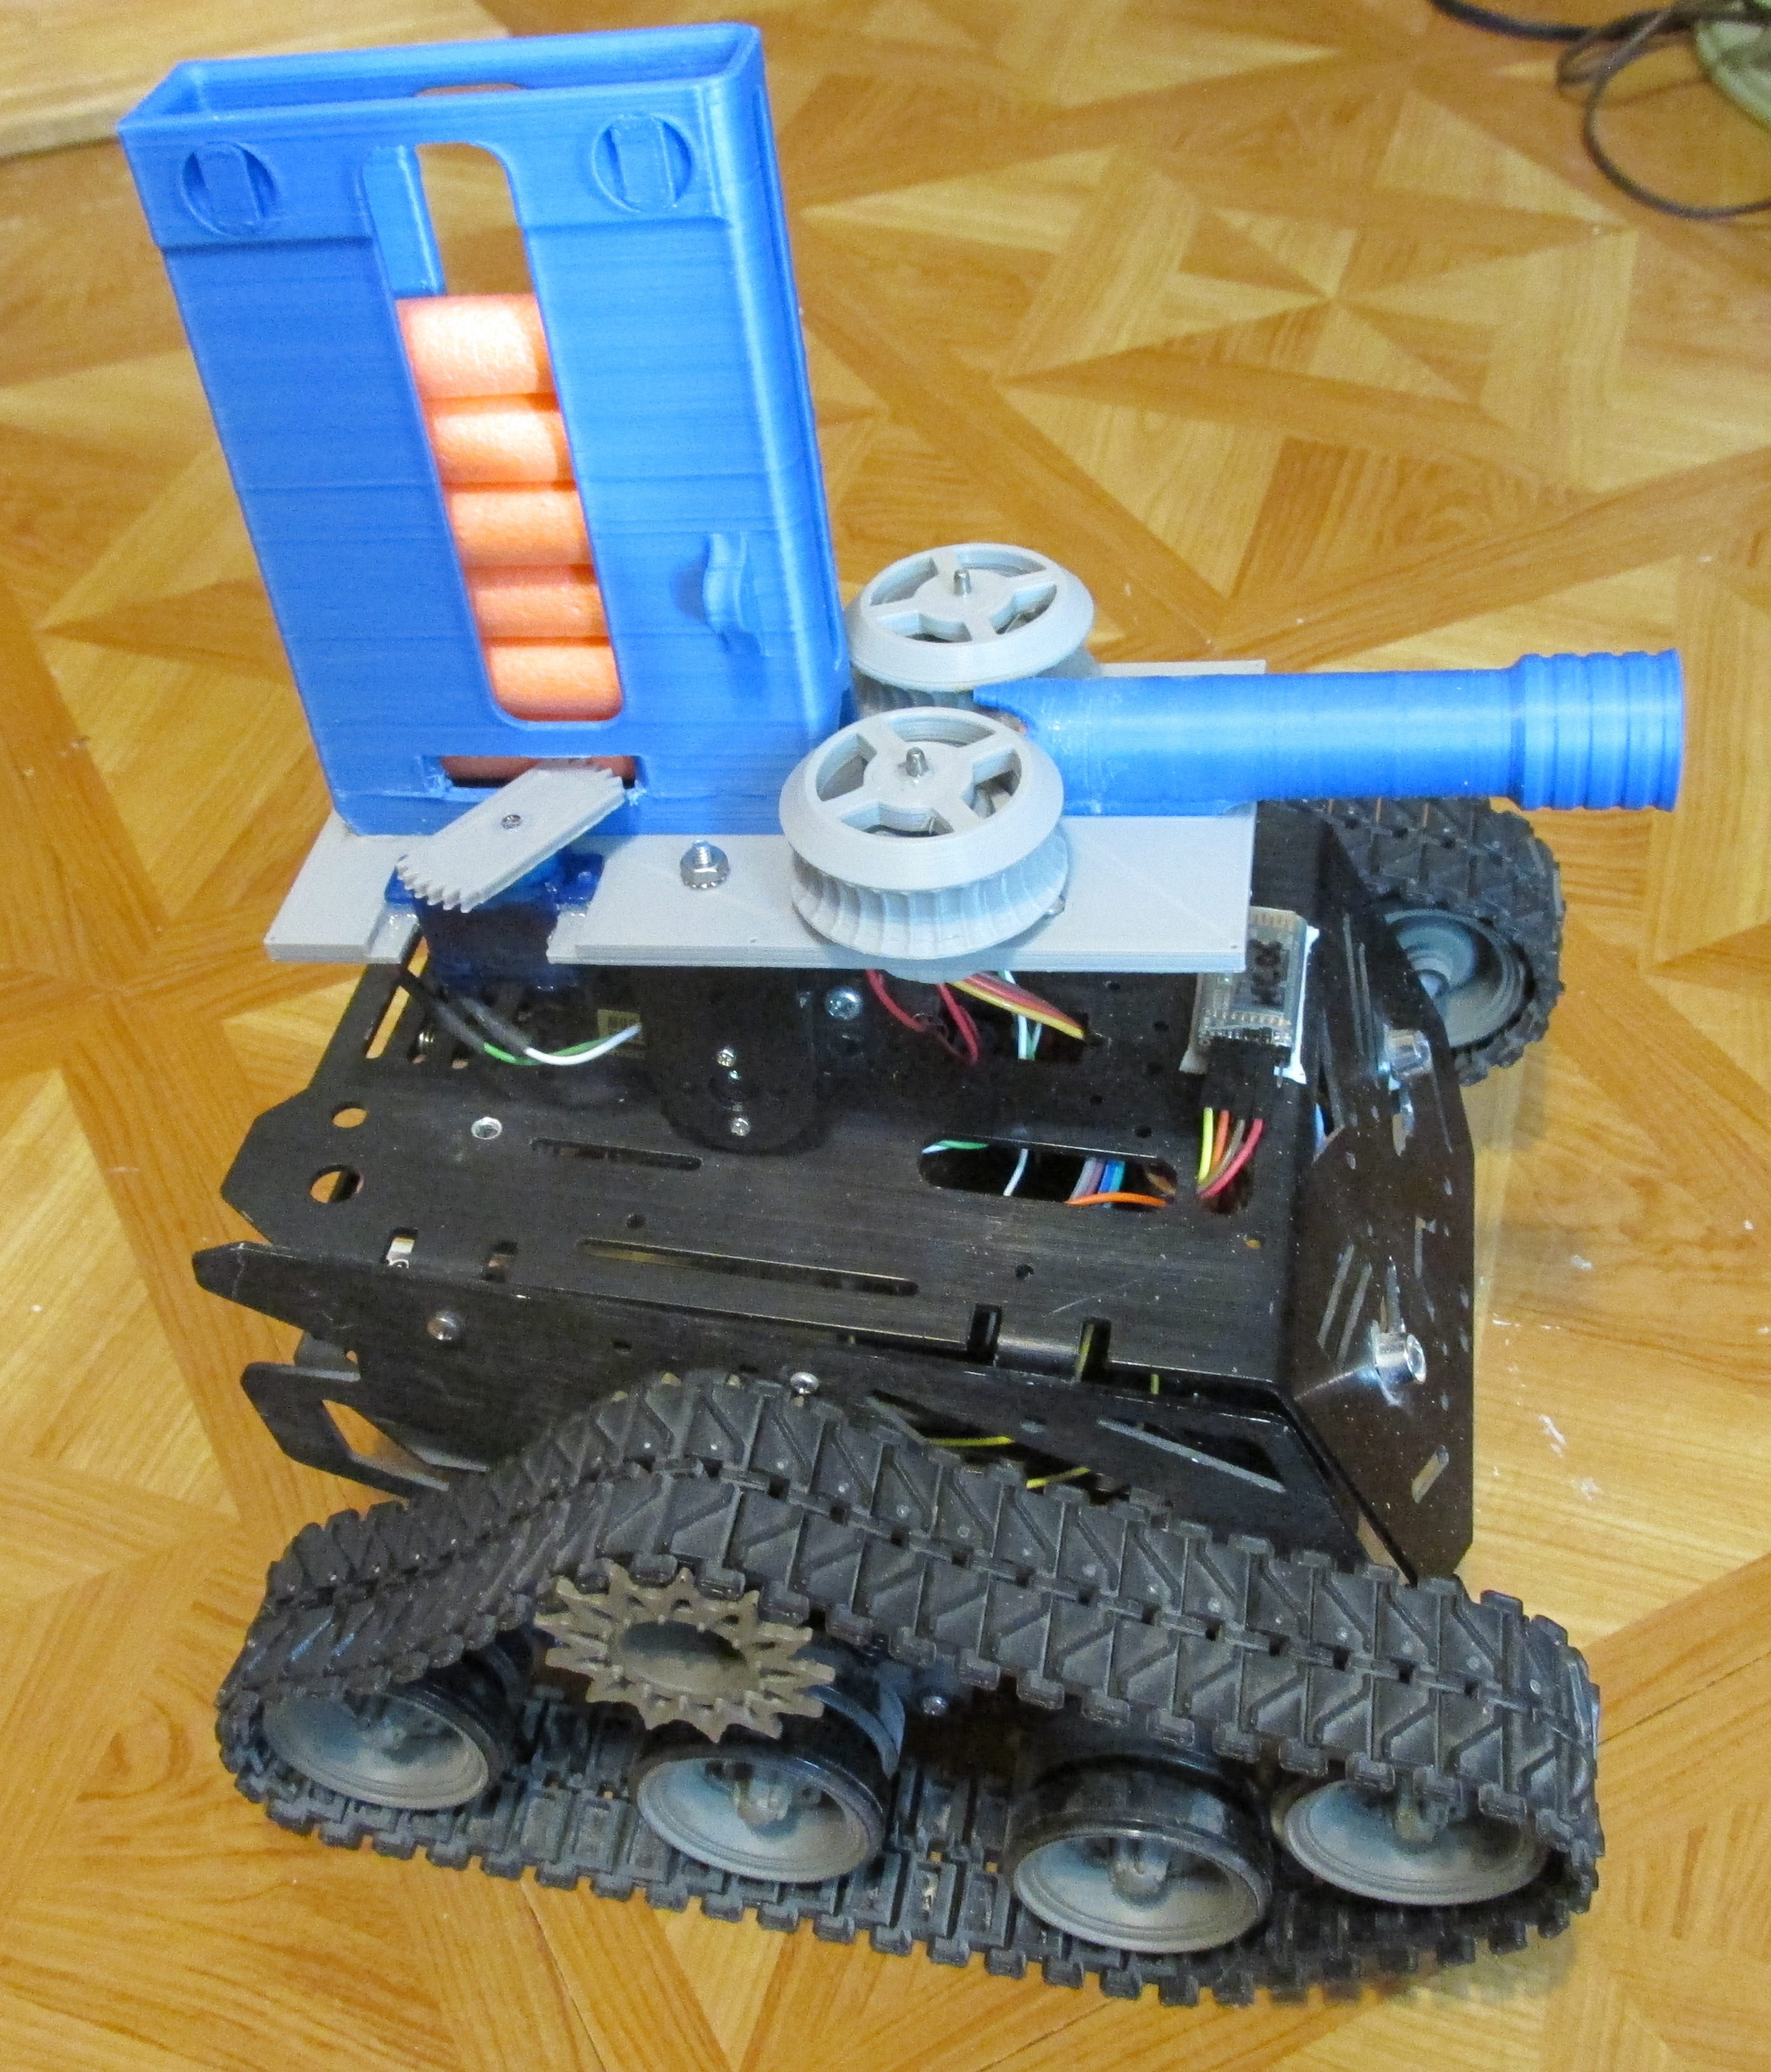
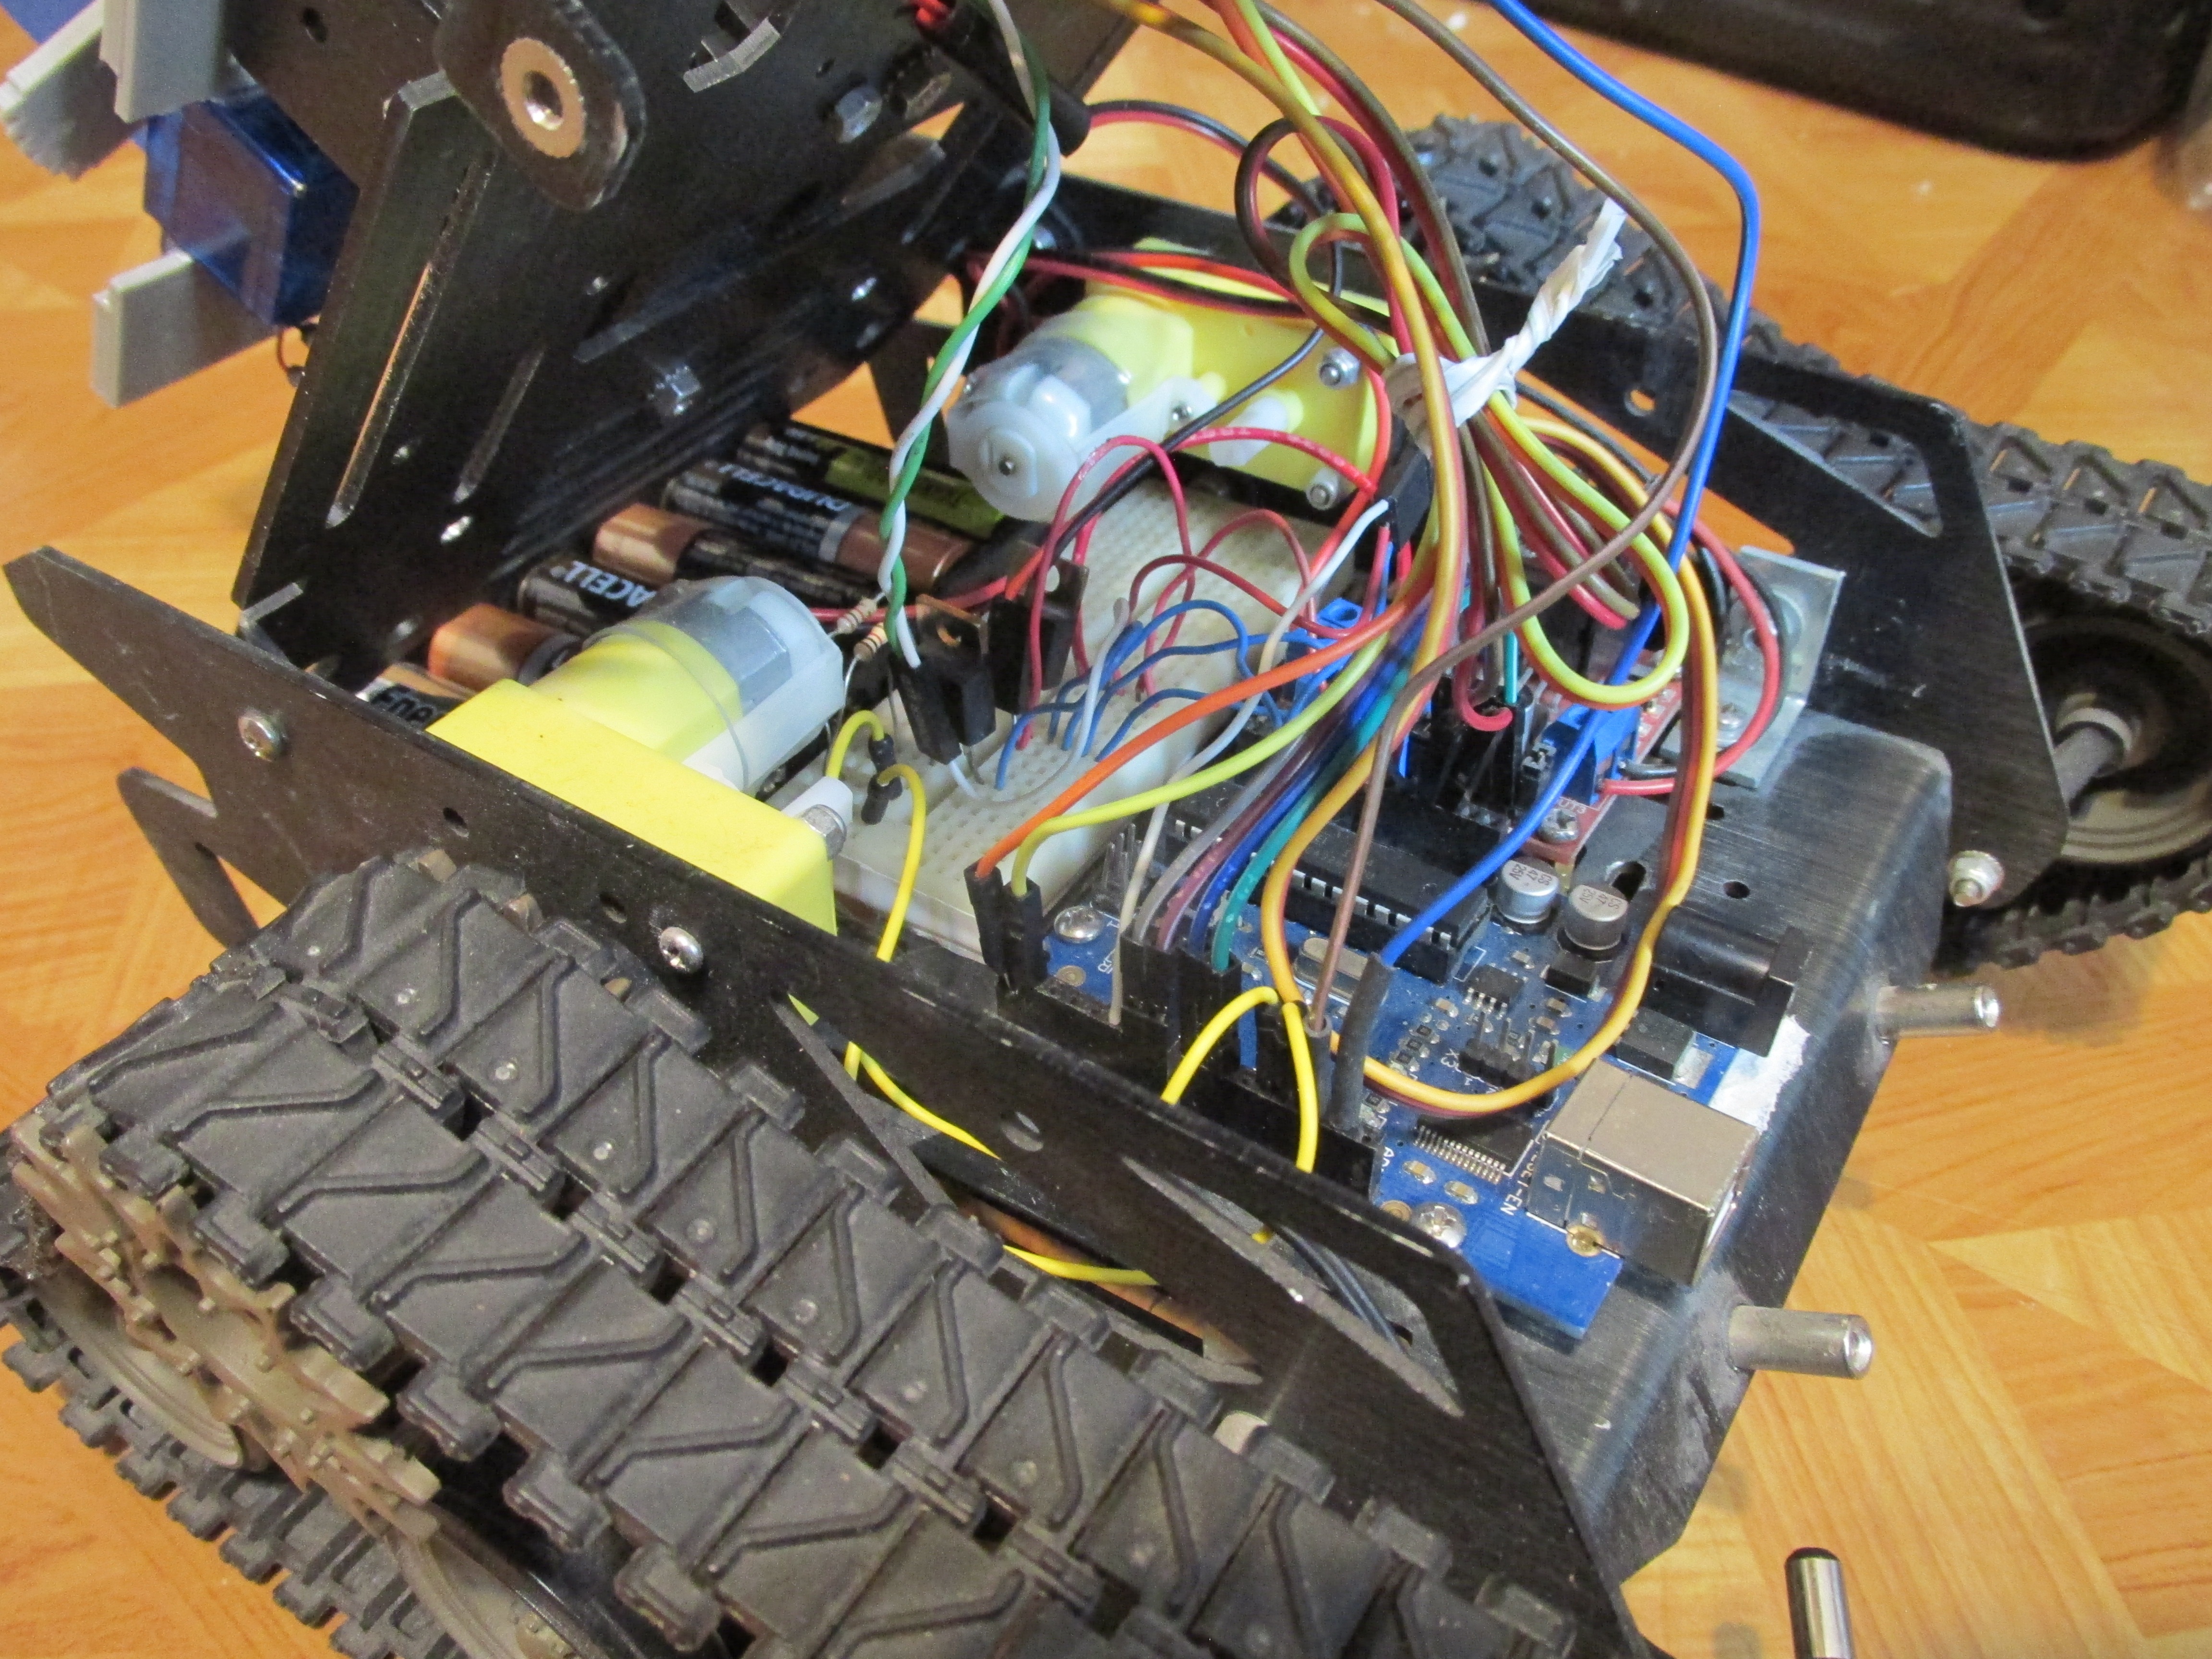
I added the 3D Printed Nerf Launcher to the Arduino controlled tank.  I can control it from my phone via Bluetooth control.  I used a standard servo to make the attachment.  This gives me up/down capability.


The interface uses 1K ohm resistors to TIP127 transistors to turn the motors on and off.  The small servo doing the pushing had its electronics removed and was modified for infinite 360 degree operation.
Here are some pictures of the insides of the tank.


Here is the YouTube video of the tank with Nerf launcher in operation

Friday, May 20, 2022

InMoov head Working with Arduino UNO

I am just finishing up building the InMoov Robot head.  First you must know that there are about four revisions for every part.  For instance I did the earlier version of the eyes first.  They had very limited range of motion.  So I made a newer version and they had much better movement.

I also tried painting the parts for the first time.  I used paint-able caulk first, then several layers of a sand-able undercoat followed by at least 2 layers of paint.  This next picture shows the results.

This is what it looked like before painting, the holes have been filled with caulk. I do not know why there are so many holes in the design!

This is what the eye assembly looked like.  I modified it slightly to fit an older Logitech webcam guts.  However the camera was upside down when it was tested.

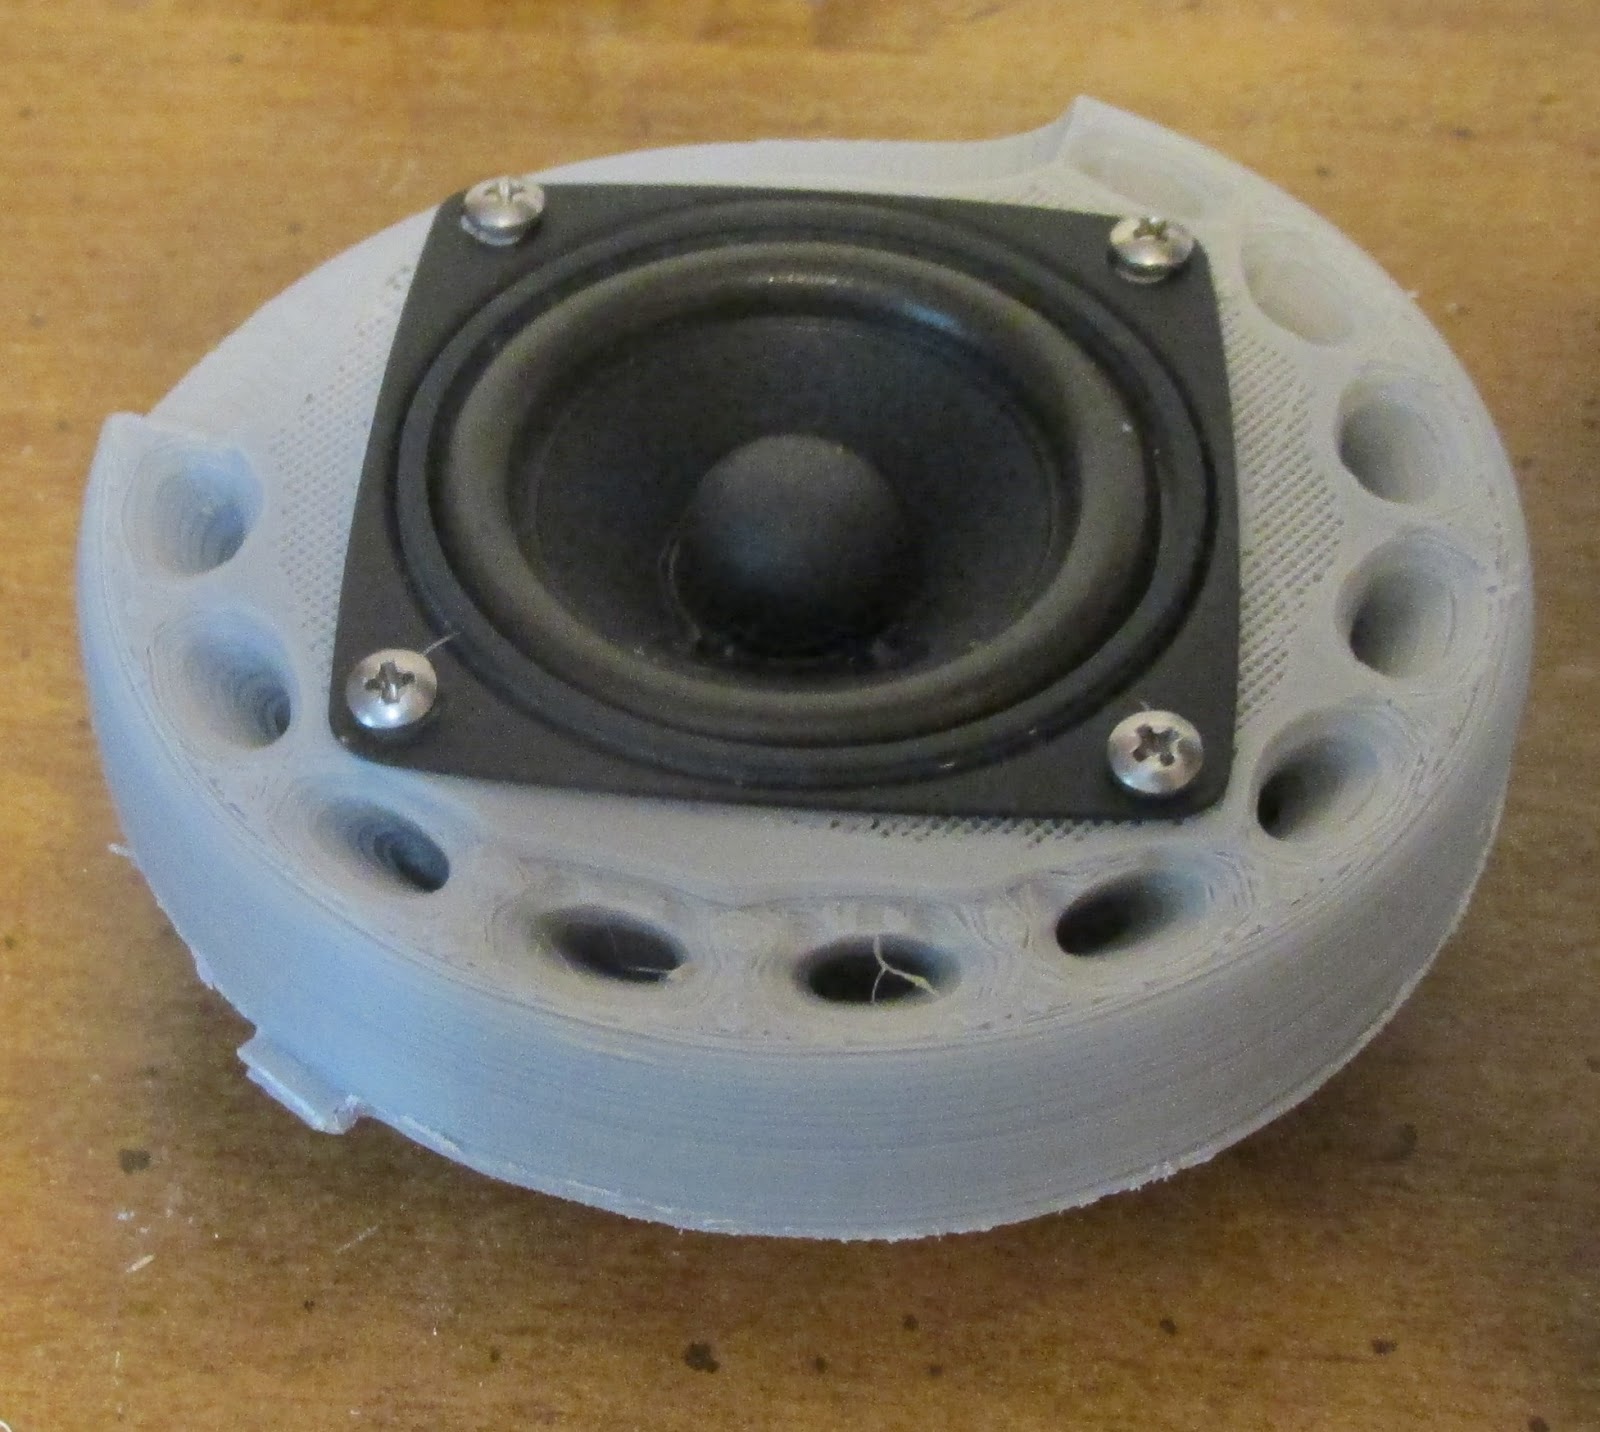
I modified the gear for the mouth and the ears as well.  I wanted ears that were fairly flat, but that resulted in the magnet hitting the jaw mechanism.  I will have to find some lower profile speakers.

I also located and added a base.  The real inMoov robot has more than just a head, but I wanted to stop there for now.  I had to cut the throat piston off at about one inch shorter to fit properly with the stand.

Here is what the completed robot head looked like.

I also recorded a video of me testing the servos to see if everything worked.  I used some MG958 servos that are twice as powerful as standard servos but I was not sure if they would be powerful enough.