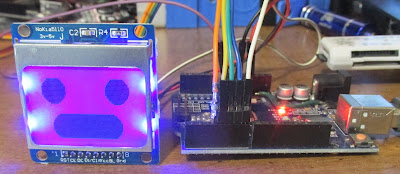
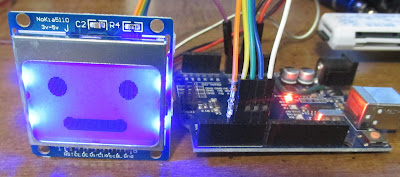
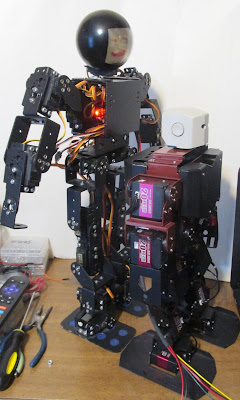
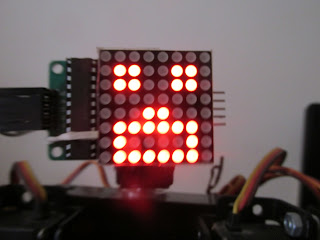
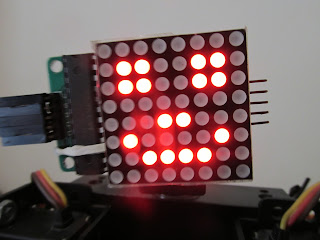
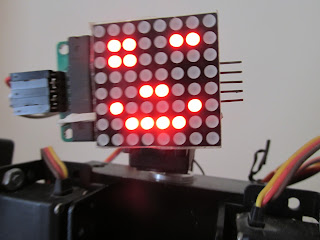
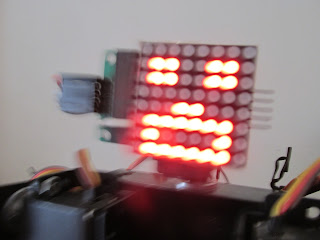
This is the code. I do not have an interface to select what face to display yet.
// Parallel LCD to Robot Face
// By Bob Davis
// Adafruit_TFTLCD LIBRARY MUST BE CONFIGURED.
// SEE RELEVANT COMMENTS IN Adafruit_TFTLCD.h.
// Some code by Open-Smart Team and Catalex Team
//
// Board: Arduino UNO R3 or Arduino Mega2560
// ADAFRUIT DRIVERS
#include <Adafruit_GFX.h> // Core graphics library
#include <Adafruit_TFTLCD.h> // Hardware-specific library
#define LCD_CS A3 // Chip Select goes to Analog 3
#define LCD_CD A2 // Command/Data goes to Analog 2
#define LCD_WR A1 // LCD Write goes to Analog 1
#define LCD_RD A0 // LCD Read goes to Analog 0
#define LCD_RESET A4 // Actually use Arduino's reset pin
Adafruit_TFTLCD tft(LCD_CS, LCD_CD, LCD_WR, LCD_RD, LCD_RESET);
//*********************************************//
// Pin assignments for the LCD *ADAFRUIT*
// GND -- GND
// 3V3 -- 3.3V
// CS -- A3
// RS -- A2
// WR -- A1
// RD -- A0
// RST -- RESET or resistor to +V
// LED -- GND
// DB0-DB7 -- 8, 9, 2, 3, 4, 5, 6, 7
int width=320; // scales
int height=240;
// uint16_t g_identifier;
// Assign names to color values:
#define BLACK 0x0000
#define BLUE 0x001F
#define RED 0xF800
#define GREEN 0x07E0
#define CYAN 0x07FF
#define MAGENTA 0xF81F
#define YELLOW 0xFFE0
#define WHITE 0xFFFF
void setup(void) {
uint16_t identifier = 0x9325; // or 9341
// tft.reset();
tft.begin(identifier);
tft.setRotation(1);
// tft.setCursor(0, 0);
tft.fillRect(0, 0, width, height, BLACK);
}
void loop(void) {
tft.fillRect(0, 0, width, height, BLACK);
// Eyes Center
tft.fillCircle(width*.1,height*.2,20,WHITE);
tft.fillCircle(width*.1+40,height*.2,20,WHITE); // oblong fillCircle
tft.fillRect (width*.1,height*.2-20,40,41,WHITE);
tft.fillCircle(width*.1+20,height*.2,20, BLUE);
tft.fillCircle(width*.1+20,height*.2,10, BLACK);
tft.fillCircle(width*.8,height*.2,20,WHITE);
tft.fillCircle(width*.8+40,height*.2,20,WHITE); // oblong fillCircle
tft.fillRect (width*.8,height*.2-20,40,41,WHITE);
tft.fillCircle(width*.8+20,height*.2,20, BLUE);
tft.fillCircle(width*.8+20,height*.2,10, BLACK);
// Mouth
tft.fillCircle(width*.2,height*.8,20,WHITE);
tft.fillCircle(width*.8,height*.8,20,WHITE); // oblong fillCircle
tft.fillRect(width*.2,height*.8-20,width*.6,41,WHITE);
delay(1000);
// Eyes Narrow
tft.fillRect(0,height*.2-20,width,10,BLACK);
tft.fillRect(0,height*.2+10,width,11,BLACK);
delay(1000);
// Eyes Big
tft.fillCircle(width*.1,height*.2,30,WHITE);
tft.fillCircle(width*.1+40,height*.2,30,WHITE); // oblong fillCircle
tft.fillRect (width*.1,height*.2-30,45,61,WHITE);
tft.fillCircle(width*.1+20,height*.2,20,BLUE);
tft.fillCircle(width*.1+20,height*.2,10,BLACK);
tft.fillCircle(width*.78,height*.2,30,WHITE);
tft.fillCircle(width*.78+40,height*.2,30,WHITE); // oblong fillCircle
tft.fillRect (width*.78,height*.2-30,45,61,WHITE);
tft.fillCircle(width*.78+20,height*.2,20,BLUE);
tft.fillCircle(width*.78+20,height*.2,10,BLACK);
// Big Mouth
tft.fillCircle(width*.2,height*.8,30,WHITE);
tft.fillCircle(width*.8,height*.8,30,WHITE); // oblong fillCircle
tft.fillRect(width*.2,height*.8-30,width*.6,61,WHITE);
tft.fillCircle(width*.2,height*.8,20,BLACK);
tft.fillCircle(width*.8,height*.8,20,BLACK); // oblong fillCircle
tft.fillRect(width*.2,height*.8-20,width*.6,41,BLACK);
delay(1000);
tft.fillRect(0,0,width,height,BLACK); // Erase
// Eyes Right
tft.fillCircle(width*.1,height*.2,20,WHITE);
tft.fillCircle(width*.1+40,height*.2,20,WHITE); // oblong fillCircle
tft.fillRect (width*.1,height*.2-20,40,41,WHITE);
tft.fillCircle(width*.1+35,height*.2,20, BLUE);
tft.fillCircle(width*.1+35,height*.2,10, BLACK);
tft.fillCircle(width*.8,height*.2,20,WHITE);
tft.fillCircle(width*.8+40,height*.2,20,WHITE); // oblong fillCircle
tft.fillRect (width*.8,height*.2-20,40,41,WHITE);
tft.fillCircle(width*.8+35,height*.2,20, BLUE);
tft.fillCircle(width*.8+35,height*.2,10, BLACK);
// Narrow Mouth
tft.fillCircle(width*.2,height*.8,10,WHITE);
tft.fillCircle(width*.8,height*.8,10,WHITE); // oblong fillCircle
tft.fillRect(width*.2,height*.8-10,width*.6,21,WHITE);
delay(1000);
// Eyes Left
tft.fillCircle(width*.1,height*.2,20,WHITE);
tft.fillCircle(width*.1+40,height*.2,20,WHITE); // oblong fillCircle
tft.fillRect (width*.1,height*.2-20,40,41,WHITE);
tft.fillCircle(width*.1+5,height*.2,20, BLUE);
tft.fillCircle(width*.1+5,height*.2,10, BLACK);
tft.fillCircle(width*.8,height*.2,20,WHITE);
tft.fillCircle(width*.8+40,height*.2,20,WHITE); // oblong fillCircle
tft.fillRect (width*.8,height*.2-20,40,41,WHITE);
tft.fillCircle(width*.8+5,height*.2,20, BLUE);
tft.fillCircle(width*.8+5,height*.2,10, BLACK);
// Mouth
tft.fillCircle(width*.2,height*.8,10,WHITE);
tft.fillCircle(width*.8,height*.8,10,WHITE); // oblong fillCircle
tft.fillRect(width*.2,height*.8-10,width*.6,21,WHITE);
delay(1000);
}